News

DSC01831

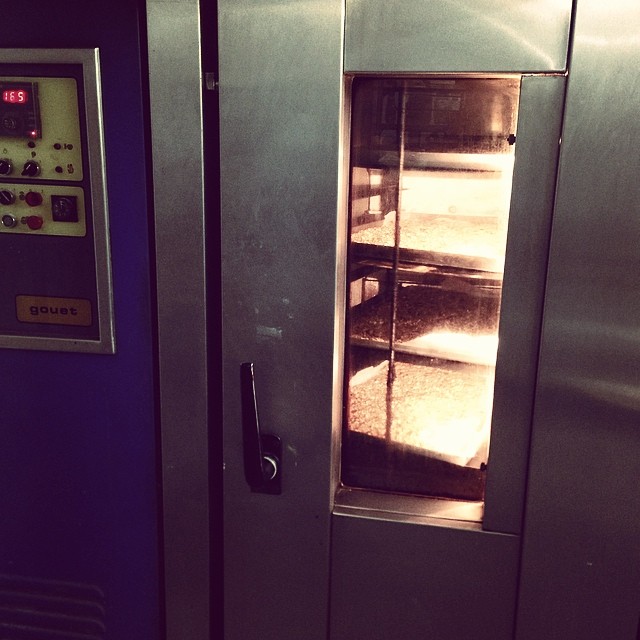
It’s been quiet around here lately.  I’ve been (literally) elbow deep in bowls of oats and maple syrup and trying not to pass out from a heat stroke standing in front of a 6 foot (1,82m) tall oven with the door open.  Most of you know why but I’m happy to finally announce it here:
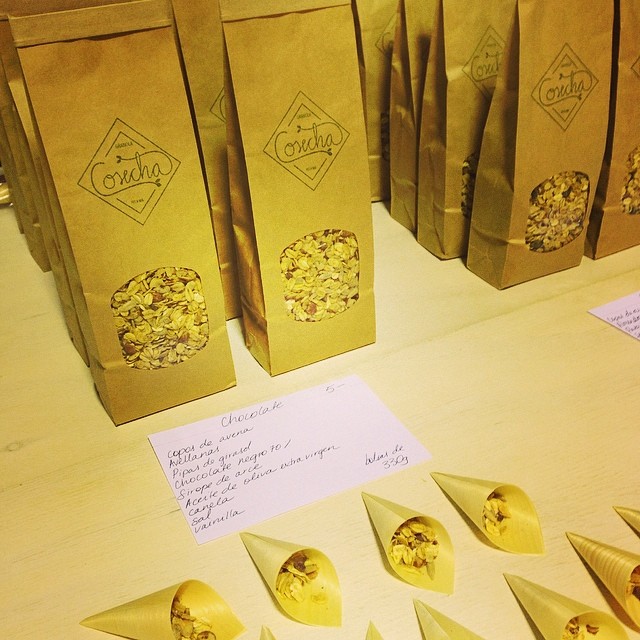
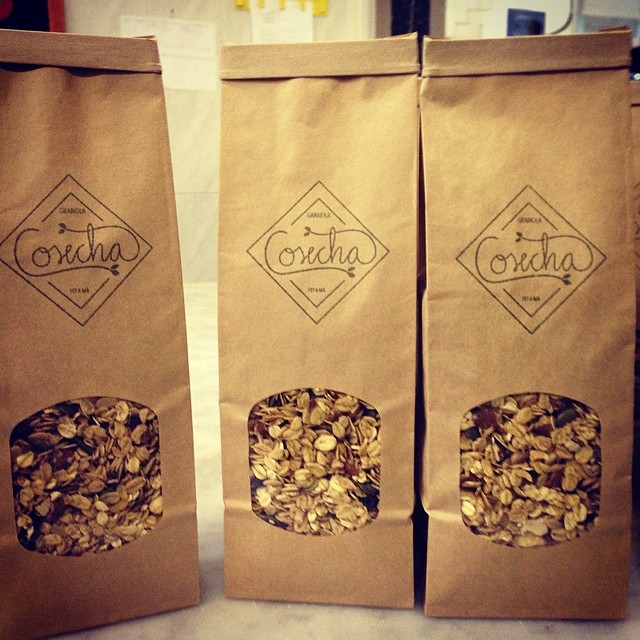
granola, made by moi, has been keeping me quite occupied.

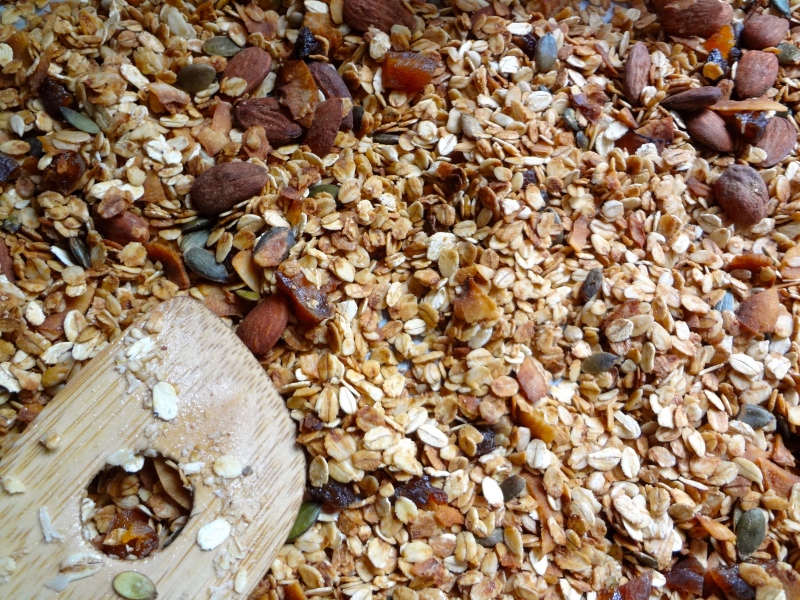
For those of you new to the granola thing, granola is like a jazzed up version of the classic muesli.  The base ingredients are more or less the same: oats, dried fruit, and nuts and seeds.  What makes it special and different then?  Toasted in the oven, sweet and salty, with a hint of spice and other flavors, it’s in a league of its’ own.  And the coolest part? Because it’s toasted, it’s easier to digest than muesli (raw) and the bio-availability (our ability to ABSORB nutrients) all those wonderful minerals and vitamins increases significantly as we do away with the phytic acid during the roasting process!

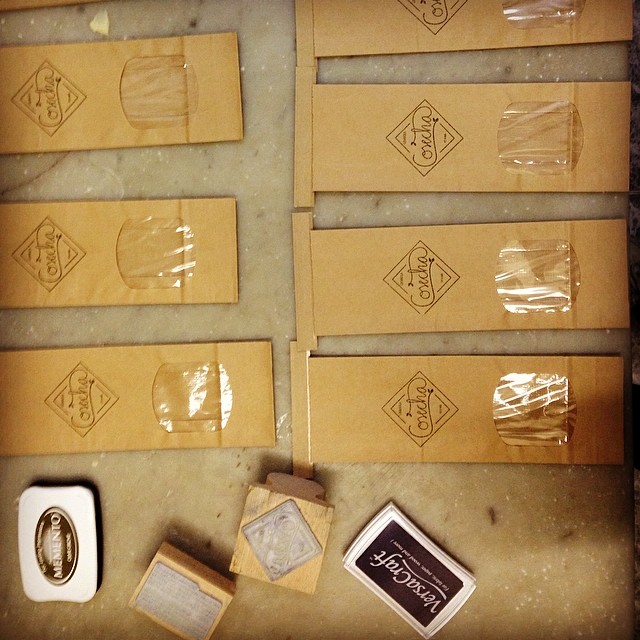
So, why am I making and selling granola you might ask?  Since moving to Barcelona I’ve yet to find a granola like the one I munched on growing up.  Determined not to give up the good fight, I started making my own, using different recipes I found online until I got it just right.  Those closest to me became the benefactors of my experiments but then I thought, why not spread the granola love around?  Granola by Cosecha was born.

10003419_10100756492559854_9989236_n10154160_10100757618653154_1580772304_n1383324_10100757647585174_96632985_n


So why give up your piece of toast for a bowl of my granola?  Besides the fact that it’ll knock your socks off, here are some details on just a few of the ingredients that I use:

Oats: Oats are a great source of soluble fiber, keeping you regular and trapping excess cholesterol from meals that would otherwise end up in your arteries.  It also happens to be full of magnesium and B vitamins, giving it its’ calming effect on our nervous system.  It’s especially beneficial for people who suffer from anxiety, depression and stress.  They’re complex carbohydrates and have a low glycemic index, meaning you’ll be full for longer and no sugar highs. A good option for people who are physically/mentally demanding lifestyles and also people with Diabetes II.  Note to celiacs/people with gluten sensitivity: though they contain little to no gluten themselves, cross-contact with other gluten-containing crops is possible.  A truly gluten free granola by Cosecha is in the works 😉

Almonds:  Powerhouses of nutrients: protein (not complete), monosaturated fats, calcium, magnesium, B vitamins, vitamin E, and fiber.  Caloric and well-rounded, you’ll have energy for hours and probably won’t need a cup of coffee or a sugar pick-me-up.

Pumpkin seeds:  One word: Zinc.  It’s full of this prostate-protecting mineral that is also crucial to enzyme activation and metabolism.  Lots of healthy mono- and polyunsaturated fats and antioxidants.

Maple syrup: Granola’s darling.  Carmel and earthy tones mixed with subtle sweetness.  Also happens to showcase an impressive list of minerals (calcium, potassium, magnesium, iron), B vitamins and natural enzymes, making it easier for our bodies to digest than refined and processed sugars.
1533787_10100758337407764_1227989041_n
Last week I made and sold my first batch and it was more successful than I could’ve imagined!  Thank you to all of you who came out to Tawari‘s eco-encuentro and to those who bought directly, especially my fellow yoguis on this amazing retreat I went on two weeks ago.  For the time being it’s quite a small production (just me!) and will be made-to-order.  I’ll be making two varieties: “Original” and “Xocolata Romaní”, both unique recipes that I developed through lots of trial and error!  All of the ingredients are 100% organic and local when possible.  Click on “Granola”  in the menu above for more information or click here to order directly.

______________________________________________________________________________________________________

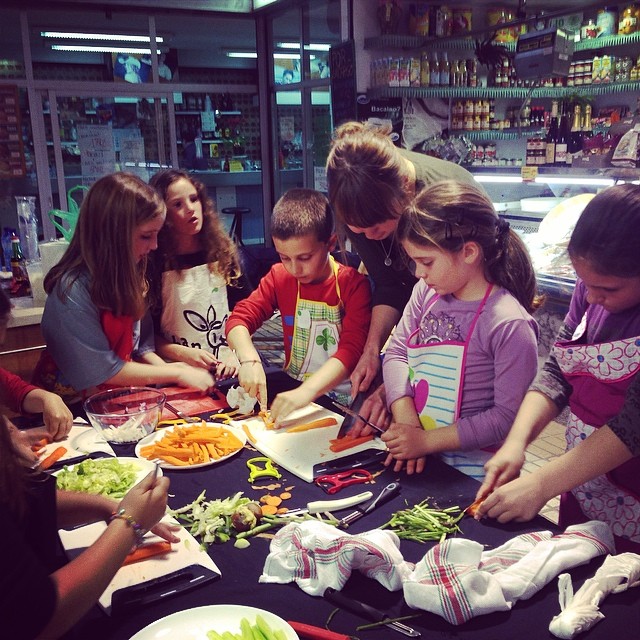
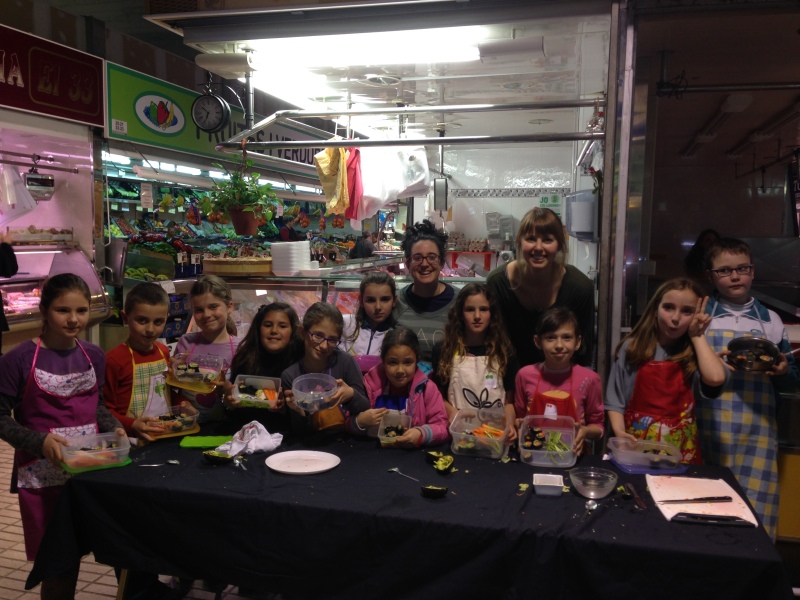
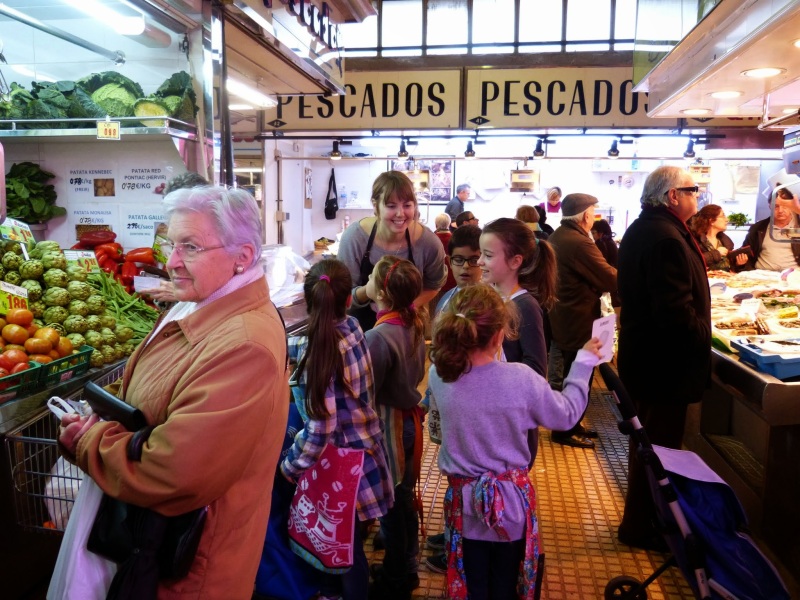
In other news, I had two successful workshops at the Mercat Les Planes and the Mercat del Centre in Sant Joan Despí.  The kids had a blast making vegetarian sushi and ate it right up! If they make it, they will eat it!

1463945_10100756713062964_1888200463_n1505358_10100756720183694_281988650_nimage-1

The spring trimester of Let’s Cook in English starts this Saturday at Espai Cuinam, Mercat de Vall d’Hebron. We’ll be making Spring Vegetable Empanadas this Saturday, April 12th @ 10 a.m. with the little ones! Check out my Workshops page for more info.

***Be on the look out for information on more upcoming workshops for adults. It’s in the works!***

Life as of late

DSC03580

I don’t even know how to begin to explain what’s going on around here.  Life has been CRAZY busy the last couple of weeks but in the best, soul charged, emotionally fulfilling way.  Days starting at 7 a.m. and finishing at midnight, breaking my own rules about peaceful mealtimes (i.e. hanging out with the computer and working while trying to remember to chew), housework being longgg over due.  It’s taking everything I’ve got to stay present so needless to say free moments for cooking and blogging haven’t willingly been presenting themselves.

I’m hoping to share all the excitement soon, once it’s solid and for sure.  Until then, here are some photos of the stolen moments and bits of reprise amongst the chaos.

x

DSC03624

No sé como empiezo explicaros  la locura que ha sido mi vida últimamente.  Una locura que me llena cada día y me empuja a mis límites.  Hay días que empiezo a las 7h y no vuelvo a la cama hasta medianoche, agotada pero con una sonrisa y contentísima.  He dejado al lado mi mania de comer sin tecnología y no hay manera de mantener la casa ordenada.  Como podéis imaginar no me quedan muchos momentos libres para cocinar y escribir cómo quisiera y por eso no escribo tanto pero os juro que sigo probando recetas y comiendo rico…¡ya llegarán al blog!

Espero compartir todos los proyectos nuevos dentro de poco, ¡tengo tanta ilusión!  Por el momento os dejo unas fotos de las últimas semanas, mis momentos de relax dentro del caos, compartiendo comidas y la naturaleza con mi gente.

¡Hasta pronto!

DSC03596

DSC03614

DSC03606

DSC03635

DSC03604

——————————————————————————————————————————

Let’s Cook in English is really taking off at Mercat de Vall d’Hebron!  If you haven’t seen my photos on Facebook, check ’em out:

https://www.facebook.com/media/set/?set=a.539592699472112.1073741830.504437626320953&type=1

https://www.facebook.com/media/set/?set=a.539586476139401.1073741829.504437626320953&type=1

P1080397

Everyday goodness

DSC03573

I’ve been thinking for awhile now that I’d like to share more of the everyday meals I make.  With so many food bloggers out there, it’s easy to lose sight of the beauty of simplicity.  And to be intimidated by the creativity and genius there is around food these days.

If you find yourself with some left over chicken, a ripe avocado, a little tofu that needs to be used up, a lemon on the verge and some sort of fresh herbs, this dish comes together in a flash.  Maybe that’s not the random assortment of sobras (leftovers) you’ve got going on, but I bet there are bits and pieces hanging out in your fridge needing to be thrown together and used up.

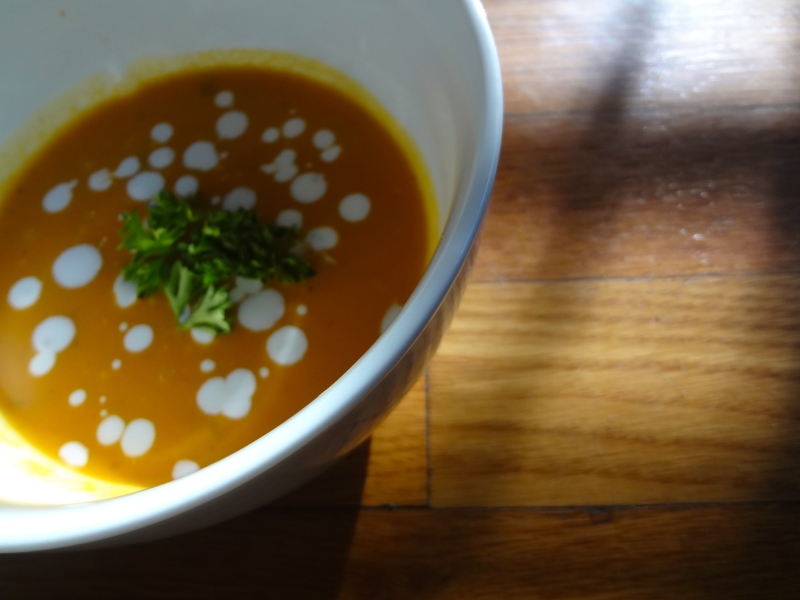
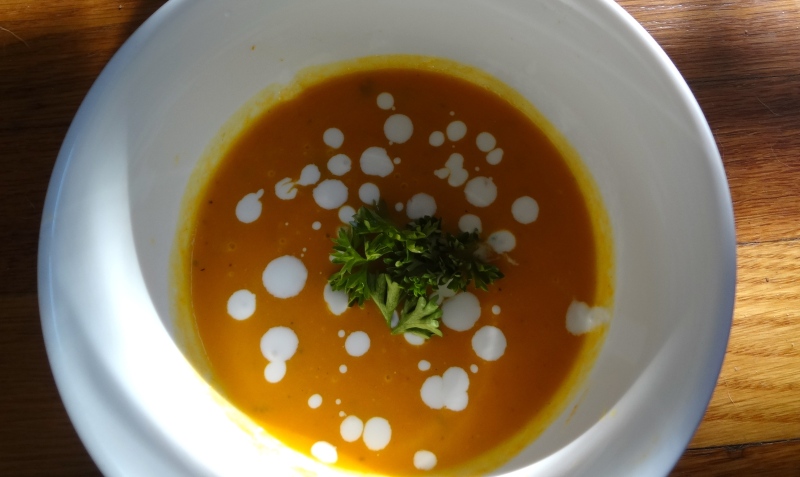
The soup is also quite simple, at it’s base some leftover roasted squash and rub I used on the chicken (zest + garlic mostly).  Throw in some carrots and a bit of ginger and whatever spices you like.  Add fresh herbs; I swear that’s the easiest way to up the ante on any dish.

Making the chicken salad, I realized that this sort of thing is probably more appropriate for late spring/summer.  It’s full of cooling flavors and quite refreshing.  In attempts to winterize it and give it some warmth, I added fresh ginger juice, cinnamon, black pepper, cayenne and some cumin.

DSC03544

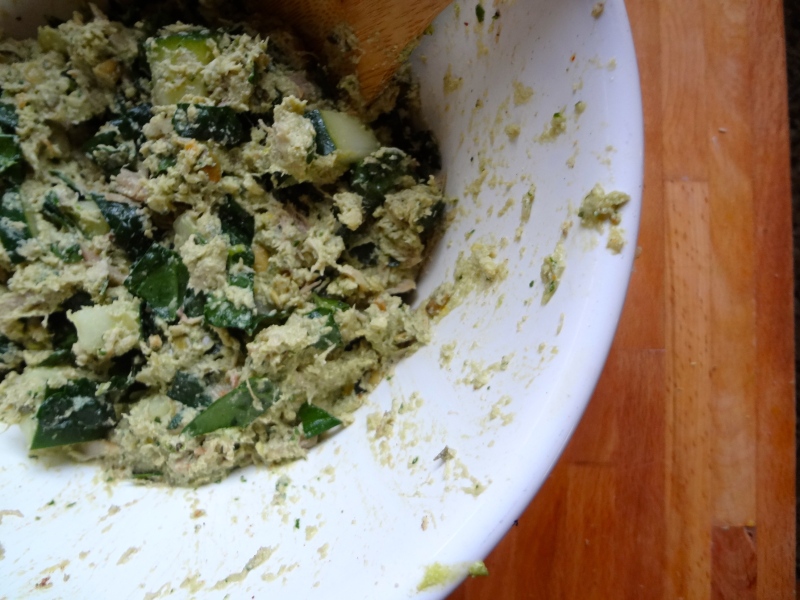
Pulled green chicken salad + acorn squash coconut bisque

This is my take on the classic creamy chicken salad, sans the mayo.

Chicken salad:
4 cups pulled chicken (2-3 chicken breasts or 1/2 small rotisserie chicken, white and dark meat)
1/2 medium cucumber, seeds removed and diced
4-5 laccinato kale leaves, cut in thin ribbons
1/2 cup toasted pumpkin seeds

Dressing:
1 ripe avocado
small bunch fresh cilantro
50g or 1/2 cup tofu, previously boiled for 10 minutes
1 tsp freshly grated ginger juice
1 lemon, zest and juice
4 tbsp olive oil
2-3 tbsp water, to thin
1 tsp cayenne pepper
1 tbsp ground cumin
pinch of ground cinnamon
salt and pepper to taste

Pull chicken apart with your hands until shredded and place in a large bowl. Chop up the kale and the cucumbers and add to the chicken. Toast the pumpkin seeds in a cast iron skillet over low-medium heat, stirring frequently until they pop and turn a golden color (about 5-7 min) and add them to the big bowl.  If you don’t have cast iron, you can roast them for 5-7 minutes on a baking tray lined with parchment paper at 350 F (180 C), giving them a stir once or twice.

In a food processor, combine the cilantro, avocado, tofu, lemon zest and juice, ginger juice and all the spices. Blend until smooth and then add the olive oil little by little. It should be creamy and thick at this point. Add the water 1 tablespoon at a time until you reach a mayonnaise-like consistency.

Fold into the chicken until everything is lightly coated. Save the rest for moistening the salad if it gets dry, spreading on toast or topping of some roasted veggies.

DSC03570

Acorn squash coconut bisque

Any squash would work here and you can obviously use regular cream instead of coconut milk if you prefer.

Buddha’s hand zest (you can sub lemon) + garlic paste (zest from 1 lemon + 3 cloves garlic)
1/2 large yellow onion, diced
7 medium carrots, roughly chopped
3 cups cooked squash
1 tbsp grated ginger
1 tsp ground turmeric
pinch of cayenne (optional)
2 tbsp olive oil
3/4 cup coconut milk
4 cups vegetable broth + 2 cups water
fresh cilantro
salt to taste

Heat the oil in a big pot over low-medium heat.  Add the paste and 1/2 of the ginger and saute for about 2 min, until golden brown. Throw in the onions and a pinch of salt and cook until translucent (5-8 min). Stir in the carrots and another pinch of salt and saute for just a few minutes. Pour in the vegetable broth and water and bring to a boil. When the water begins to boil, add the coconut milk and the cayenne pepper, cover the pot and reduce to a simmer. After 12 minutes, add the squash and let it heat through for about 3 minutes. Turn the burner off and allow to cool off. Throw in the cilantro and turmeric and check for salt and pepper.

In two batches, blend the soup until it’s creamy or leave some chunks in if you prefer a little texture. The soup thickens overnight so it may need to be thinned out the next time you serve it, if you have leftovers…

x

Raw food: friend or foe?

DSC02290

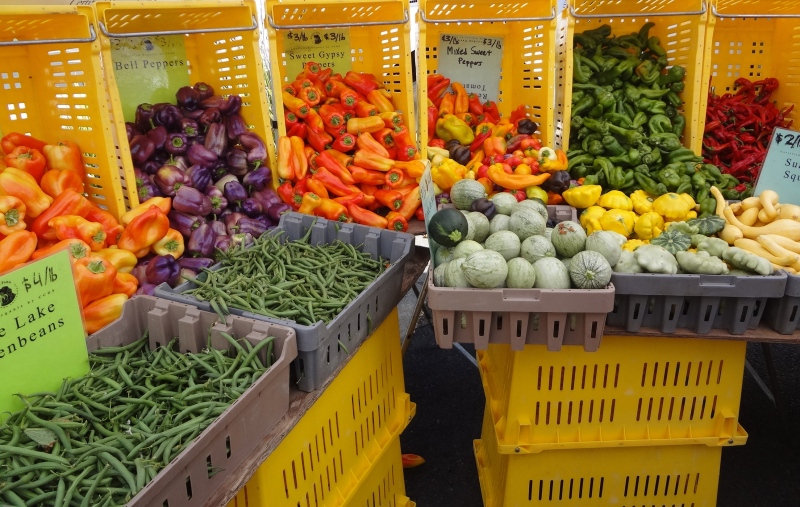
Famer’s Market (Berkeley)

In theory I love raw food and cool flavors as much as the next person.  Whose not up for the plethora of nutrients and promises of glowing skin and unlimited energy?  Unfortunately my body doesn’t do well with them during the colder seasons.  During the cold months of the year, our bodies typically ask for warming foods.  Think stews, roasted veggies, eggs, more fat from plants, nuts and seeds, and animals, sturdy grains (oats, buckwheat), spices (ginger, cinnamon).  We need these sorts of things to ward off nasty viruses, boost our immune system, aid in digestion and keep us warm.  Think of eating a hot meal of potatoes, meat and roasted veggies in the summer….you’d be sweating to the oldies!  It’s totally counter-intuitive.  Your body craves things like refreshing fruit, like melons, mangoes, berries (all high in water and vitamins we desperately need during those warm months).

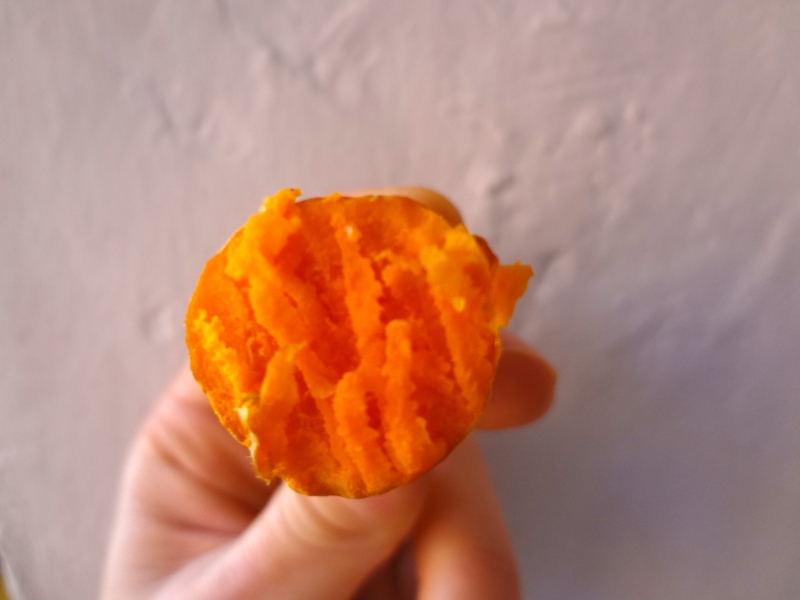
Try eating a roasted sweet potato that’s been cooked with ginger and cayenne.  Even if it’s not hot out of the oven, it’ll warm you up.  Or try eating a salad with tomatoes, cucumbers, avocados and iceberg lettuce.  I bet you’ll feel a cool sensation.

What I’m basically trying to say is tune into your body.   The famous Hippocrates quote says, “We are what we eat”.  I personally agree more with what a professor once said to me, “We are what we absorb”.  A raw diet is an amazing diet, full of enzymes and nutrients BUT if your body isn’t able to absorb those nutrients, well, it isn’t doing you much good is it?   If you are experiencing symptoms like fatigue, diarrhea/constipation, flatulence (stinky gas), frequent colds/bouts with viruses and you eat a  diet high in raw foods, your body could be trying to tell you something.

This doesn’t mean you have to cut out raw food altogether and I’m certainly not abdicating that.  I think raw food has a place in every diet; it’s just the ratio that needs fine-tuning to the individual.  There are lots of way to “cook” raw food while still benefiting greatly from them and optimize cooked food as well.

DSC03118

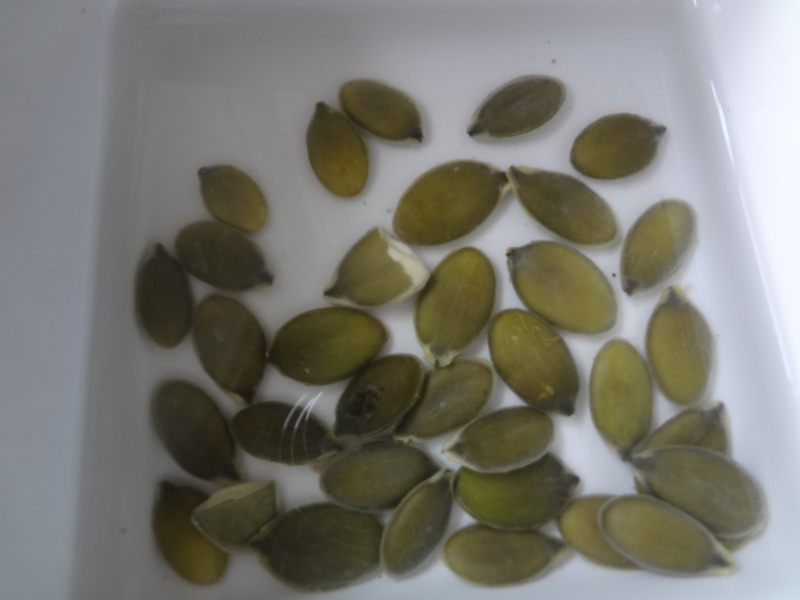
Soaking pumpkin seeds // pepitas en remojo

Here are some helpful tricks:

1. Soaking:  soaking is a great way to release enzyme inhibitors in nuts and seeds and rid grains of nutrient-blocking phytic acid.  It’s also an amazing way to rid legumes of some of that insoluble fiber that makes us so gassy.

Nuts: at least 8 hours usually does the trick but they can be left for longer.  Advantage: they’re already softened up for making milk, non-dairy cheese, spreads, etc.

Grains: minimum is 3 hours and optimally 8.  If time doesn’t allow, try rinsing your grains and toasting them until dry in a non-stick pan.  Once dry, add water and cook as you normally would.  with one exception: reduce your liquid by 1/3-1/2 cup.  For example, if the ratio water to grain is 1:1, it would now be 3/4 water to 1 cup grain.  Catch my drift?

Legumes:  I soak mine for 24 hours, changing the water 2-3 times but the minimum for me is 12.  This is really doable if you start the night before and change the water in the morning.  By the time you get home from work they’re ready to be thrown in some boiling water and simmered for 1-2 hours.

2. Marinating:  Apple cider vinegar and citrus juice from lemons and limes will actually “cook” food if it’s allowed to sit in it for a few hours.  Ceviche, anyone?

Apple cider vinegar:  make sure you buy an UNPASTEURIZED one.  It maintains all those probiotics that help pre-digest the food and make it easier for us to digest.  I’d say you need a minimum of 1/2 hour to ideally overnight, depending on what you’re “cooking”.  It can also be mixed into a dressing last minute for some roasted veggies or a winter salad.  Or taken as a shot before eating a meal with beans.  I swear it’s a gas-killer.

Lemons:  Antibacterial, antioxidant, and alkalinizing once it hits the intestines, you really can’t get enough of these.  Meat and fish will “cook” in lemon juice if left for 12-24 hours.  Great for softening up winter salad veggies like cabbage, beets and kale.

DSC03116

Fresh Turmeric//Cúrcuma fresca

3. Warming spices and herbs:  great for soups, salads, grain dishes and all of the in between..
– spices: ginger, turmeric, black pepper, cardamom, star anise, cloves, nutmeg, all spice, garlic, cayenne pepper, paprika, curries…
– herbs: thyme, rosemary, sage, parsley…

4. Sprouting: what you’re essentially doing by soaking but if you want some little green tails, it takes a couple of days.  Try radish, alfalfa, lentils, broccoli, onion, fenugreek.  They are powerhouses of B vitamins, minerals, blood cleansing chlorophyll, and digestive enzymes galore, which are largely absent in cooked food.

Sprouting time for different seeds varies but in general, you’ll start to see tails within 3-4 days.  They’re ready when the tail is about double the size of the seed but I generally let mine grow a little more.  All you really need are some glass jars and gaze/wiring/old pantyhose.  Here’s an instructive video that should help get you started.

DSC02288

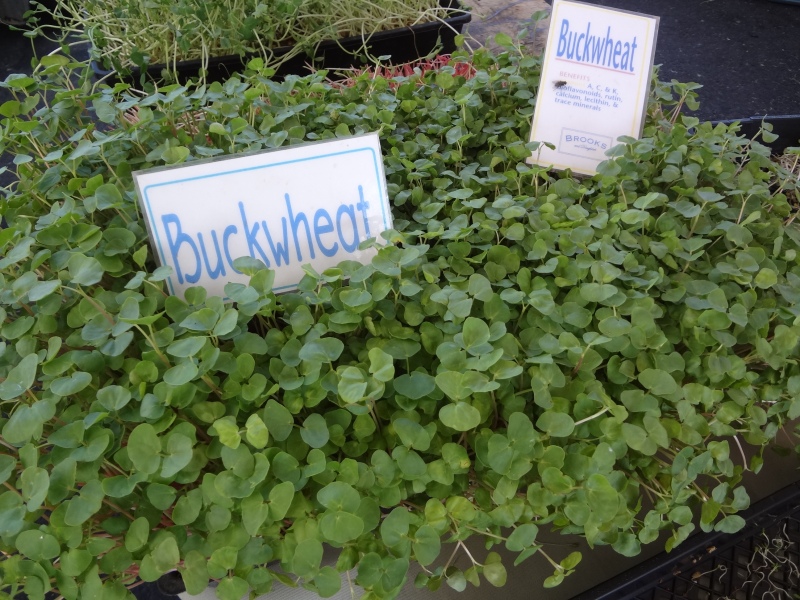
Fresh buckwheat sprouts (Berkeley) // Germinados de trigo sarraceno frescos

It might seem like a lot of work but with a little planning it’s a breeze.  If you want to add more raw food to your diet but maybe don’t have the strongest digestive system or find it more difficult to eat raw during the cold months, try some of these simple tricks and see how you feel.

x

Almonds and adapting

DSC03431

This is the first holiday season I’ve been home for in four years.  I usually go home during the summer but this year I felt those heart strings being tugged and I wanted nothing more than to go and be with my family.  There’s nothing like putting your feet back on solid ground (both literally and figuratively) after journeying across that big old ocean and sighing that sigh of relief that one can only know once you’ve spent some time away from your home and loved ones.  You can breathe easy.

DSC03440

We’re (my family) a complicated bunch and things have never been simple or easy.  I swear our parents raised us to be difficult.   That’s part of the reason they drive me crazy and it’s also why I love them so much.

As if coordinating meals during the holidays isn’t challenging enough, one of my beloveds is on a sugar-free (natural and artificial) diet that permits no legumes, no grains, and very little fruit if any at all.  Say what?  Yep, pretty rough.  Thanks, Candida Albicans.

If you’re a woman, you’re probably already familiar with this fungus.  It’s one of the causes of vaginal yeast infections.  Most people don’t realize that candida overgrowth not only causes vaginal infections, it can also cause a whole lot of upset in the gut.  Under normal conditions, it helps breakdown and absorb nutrients along the intestinal wall but when it is overproduced, candida is able to penetrate into the bloodstream, breaking down the wall of the intestine.  This cause toxins to be released into your body.  Its’ overgrowth in the gut can lead to depression, anxiety, leaky gut syndrome, chronic fatigue, outrageous sugar cravings and even intestinal disorders like IBS.  This theory generally isn’t accepted by conventional medicine, even though it is widely accepted among naturopaths and functional medicine practitioners.

I remember studying the anti-Candida diet when I was in school.  It was one of the most difficult diets to design as a nutritionist and to maintain as the patient.  It’s a diet high in animal protein, fat, raw vegetables, and nuts; a pretty hard diet to follow unless you have an iron stomach and especially hard for people who are not used to eating a whole lot of animal products.  Candida likes to hang out in alkaline environments so for the diet think foods that create the opposite: acidic.  Lean meat, eggs, citrus, nightshade vegetables, among other things.  The biggest plus this diet has going for it is the unlimited amount of veggies permitted.  It takes a lot of will and patience: it has to be followed for at least 3-4 months in order to be effective, along with natural anti-fungals, such as Pau d’Arco, or in severe cases, prescription ones.  There’s a lot of controversy out there about whether fruit, pseudo grains and certain legumes can be allowed on a anti-Candida diet.  I found this list to be pretty comprehensive, although I recommend going over it with a qualified nutritionist or naturopath before beginning this diet or any for that matter.

DSC03531

I thought I would be doing a lot of experimenting in the kitchen at home, which in my universe means lots of dishes based in or accompanied by grains.  Nope, not so much.  Very impressed by her determination, I was inspired and challenged to come up with adaptations for some of those homey holiday staples.

Looking for grain-free, gluten-free, starch-free, sugar-free baked good recipes (it was Christmas after all),  I kept getting a common denominator: almond flour.  We were already on almond overload: almond milk, almond butter, raw almonds.  Not to mention the 1.6 kilos of turrón I brought home.  Serious overdose.
While I adore almonds and love them for their healthy fats and vitamin and mineral wealth, anything in excess can be too much.  I wanted a way to give diversity to baked dishes so I decided to play around and I wanted to share the results with you.

1. Savory Pecan Biscuits by Roost: these are AMAZING.  Like, can’t-stop-putting-them-in-my-mouth kind of amazing.  We happen to have an abundance of pecans down here in Georgia so that was an easy find.  Instead of almond flour we used chickpea flour, making these an excellent source of complete protein and a great snack to tote around with you when out and about.  To make vegan, try chia seed eggs and some time type of flavorless oil that holds up to high temps (grapeseed?) or leave out the chickpea and try a blend of hazelnut and pecan with coconut oil, playing with the herbs as well.

2. Pie crust with crumble topping: S. came up with this.  We used a combination of pecan, coconut and almond flour. Here are the measurements (you can find the original recipe here):

– crust:
1 1/2 cup pecan meal
1/2 cup coconut flour
1/4 tsp sea salt
2 tbsp coconut oil
1 egg (or chia egg)

-crumble:
1/3 cup chopped hazelnut & almonds (or any combination of nuts and seeds)
3 tbsp EV coconut oil or ghee

(bisquik sub)
1 cup nut flour/coconut/chickpea/
1 1/2 tsp baking powder
stevia to taste
3 tbsp coconut oil or ghee
1/2 tsp salt
1 tsp coconut oil

3. Life changing loaf of bread via My New Roots – this was my first attempt at this bread because psyllium husks have until now alluded me in Spain.  I made it using 3/4 cup almond flour, 3/4 cup coconut flour in place of the oats.  It came out super dense, which I attribute to the coconut flour, so I would recommend subbing in 1 1/4 cup nut flour and 2 tablespoons coconut flour.   Or go all chickpea.  If buckwheat is allowed, give the groats a try instead of adding oats.  Let me know how it turns out.

4. Socca- I’ve made this recipe loads.  Super easy and tasty, serving as a pizza base or just slathered with some olive oil and topped with some avocado and greens.

If you want to read up some more on the symptoms and treatment for Candida, here are some helpful links:
Approved foods
general overview

________________________________________________________________________________

It’s worth considering how big of a role fat plays in this diet and making sure to prioritize plant based fat over animal fat, buying high quality, cold-pressed oils, and raw (sprouted) nuts when possible. Pack in the veggies and get creative: cauliflower posing as rice, celery root as pasta, turnips and white beans faking you out as mashed potatoes.

Sometimes we all need a little push to let our imagination kick in.  I have a feeling 2014 is going to be just like that: pushing ourselves to be better and more imaginative and daring to dream the unconventional and supernatural and make them a reality in our day-to-day lives.

Wishing you all a fabulous 2014…

DSC03445

Raval//Chapati//Disco Soupe

DSC03213

Desde que llegué en Barcelona he cambiado de piso un par de veces pero siempre viví en el mismo barrio.  Hace poco que cambié de nuevo y me fui al otro.  Hace tres meses que vivo en el Raval, un barrio colorido, diverso, a veces conflictivo pero siempre lleno de vida.  Verás gente en la calle, da igual la hora que sea.  Gran personajes, catalanes “de tota la vida”, hipsters, caras del todo el mundo…son la gente del barrio.
DSC03210DSC03321DSC03315DSC03322DSC03191DSC03203
Aqui no hace falta viajar porque con la variedad de inmigrantes que inhabitan esta zona, tienes la sensación de poder ir a la India, Pakistan, Senegal y Marruecos, todos en la misma vuelta de cinco minutos.  Puede ser a la vez tanto agobiante como fascinante.
DSC03330DSC03333DSC03331DSC03334

Una de las cosas que me encantan de vivir en el Raval es la variedad de alimentos que se encuentran.  No faltan tiendas de comida india, marroqui, pakistani además de fruterías con productos fresquisimos y bien de precio.  Sin mencionar que tenemos a cinco minutos andando el mercado de la Boquería, celebrado por su belleza y variedad de productos.  No sabes por dónde encontrar eneldo fresco?  Ahí.  Arándanos?  Ahí.  Especias varias?  Cabeza del cerdo?  Pues sí amigo mio, también ahí.

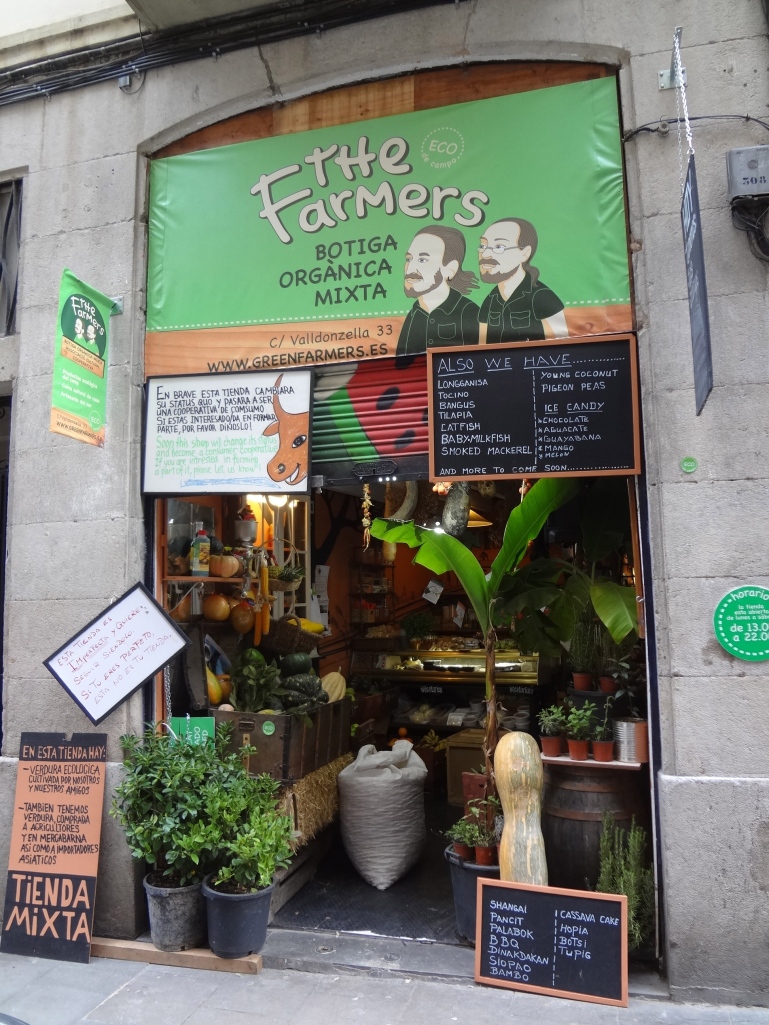
Me vuelve loca la gastronomía india, por las especias (el comino, la cúrcuma, el jenjibre, la canela, curries varias), los panes y la manera de combinar sabores.  Comparte con la gastronomía mexicana, mi preferida, varias especias, sabores y a veces la forma también (acompañado con arroz, tortas planas, chips crujientes de lentejas/los totopos).  Aunque Barcelona es una ciudad bastante cosmopolitana, cuesta mucho encontrar alimentos o ingredientes un poco exotícos.   No es como en los Estados Unidos o Inglaterra dónde en cada supermercado existe un pasillo de comida internacional.  Por un lado aprecio que hay tanta resistencia contra la globalización de la alimentación y que el vehículo entre la comida y la cultura es muy fuerte y por otro mi cuerpo me pide de vez en cuando unos sabores diferentes.  Antes, cuando me apetecía hacer un plato al estilo indio/mejicano/algo-no-típico-de-aqui, tuve que cruzar la ciudad buscando los ingredientes.  Tenemos la suerte de tener la Green Farmer muy cerca a casa, con sus productos ecológicos (¡incluso cultivo local de verduras asiáticas!) y variedad de especias, hierbas frescas y verduras a precios muy asequibles.  Me encantan.
DSC03219DSC03217DSC03220

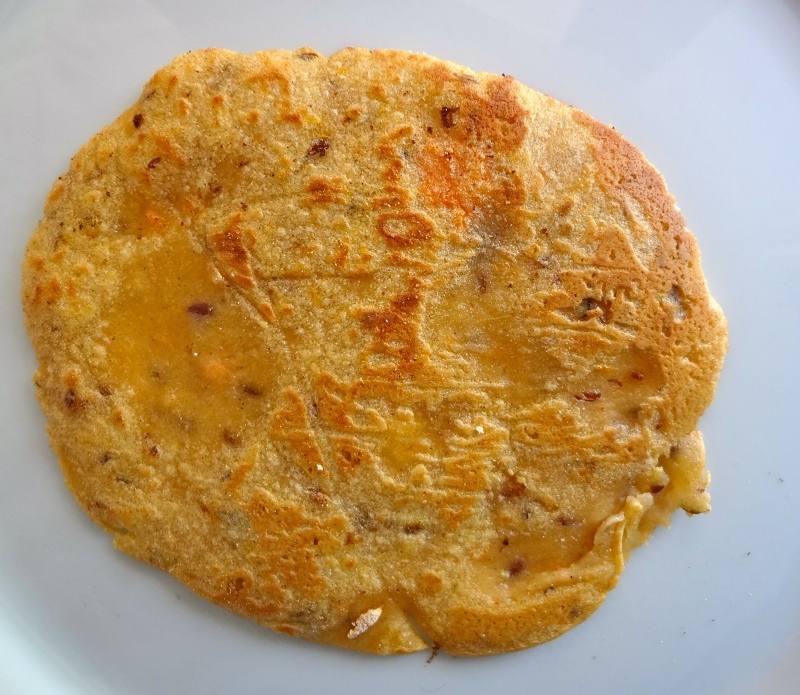
Por casualidad ahora tenemos una tienda india al lado, que fue enamorarme al entrar.   Todo el cilantro y especies que quisiera comer.  O sea genial.  Hace un par de semanas que entré y mientras que vi y tocaba casi todo que tenían, encontré unos chapatis con fenugreco y chili y los compré sin darle más vueltas.  Chapati es en un pan, parecido al naan pero incluso más fino.  No lleva levadura ni leche (el naan, sí) y está hecho a la plancha, una técnica más parecida a la tortilla mejicana.  Al probarlos en casa me encantaron pero para mi tenían dos inconvenientes:  primero, eran de producción industrial y por eso llevaron aceite vegetal (cuando no se especifica cual es, cuenta que es una grasa trans y de baja calidad) y conservantes para mantenerlos ahí el tiempo máximo en la estantería.  Segundo, están hechos al base de trigo, un alimento que estoy intentando evitar por completo.  Con un chapati bien calentito en la boca, me vino la idea de hacer mis propios en casa, esta vez sin gluten, sin conservantes y con grasas de calidad.
DSC03009

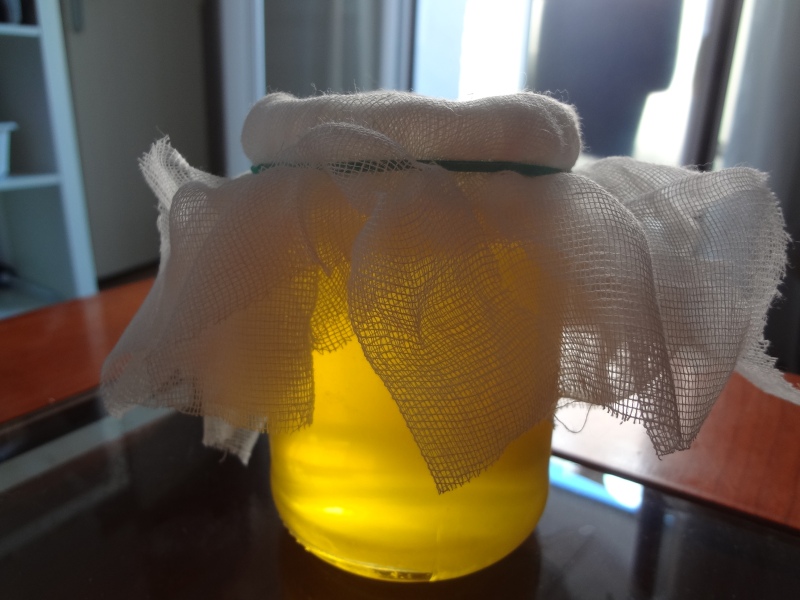
Homemade ghee

Las masas sin gluten tienen sus trucos y no soy experta entonces busqué una referencia en el blog de Shauna, la reina de las recetas sin gluten. Tienen videos, medidas americanas y las conversiones métricas, explicaciones muy detalladas…o sea que no tiene pérdida!  Mira aqui para darte una idea y luego ¡dejáte llevar la imaginación!  Otro blog que miré más por la técnica fue este que tiene muchas recetas indias sin gluten.

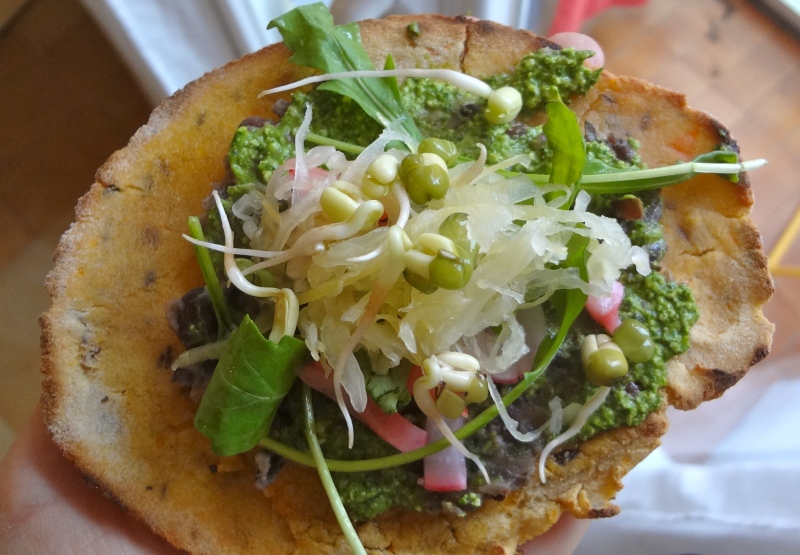
Comí los chapatis untados con frijoles negros, cilantro pesto, rúcula fresca y unos pickles de cebolla y rabanito que hice en casa.  Un sope mejicano al estilo indio…no me pude resistir.  Cualquier combinación de sabores típicos que está dentro de las dos gastronomías te iría bien.  Podrían acompañar un buen curry o dhaal, o como merienda con un poco de chutney.  Con un poco de guacamole y queso fresco sería la bomba. Ya me diráis las combinaciones que os salgan!

Tiene la pinta de ser mucho trabajo y no te voy a engañar: si haces todo el mismo día, vas a tirar horas en la cocina (aunque muchas no son horas activas en la cocina). Yo recomiendo hacerla en pasos o combinar con otras cosas que ya tienes preparadas en casa.
DSC03157

Chapatis con boniato, comino y fenugreco a la mexicana

La masa
Mezclé harina de arroz integral, sorgo, arrowroot y arroz blanco según las instrucciones de Shauna para una harina integral sin gluten.  Te da muchas opciones, así que puedes poner lo que te da la gana y en las proporciones que quieras, siempre respetando el equilibrio de harina integral::blanco. Ella recomienda las cáscaras de psyllium, que aún cuesta encontrar en España. Yo utilizé semillas de lino recién molidos para unir la masa.

240g o 2 tazas harina sin gluten
70g o 1/2 taza boniato, hervido y machacado (puedes dejarla piel, quizás pasándolo por el mini primer)
1 c.p. fenugreco en polvo
1 c.s. comino, grano entero, previamente tostado
1/2 c.p. cúrcuma
1 c.p. sal marina
1 c.s. + 1 c.p. del aceite de oliva virgen (reserva la c.p.)
1 taza o 250ml agua tibia (a ojo)
1 c.s. de harina de arroz mezclado con fécula de maiz, para espolvorear la masa
ghee o aceite de oliva virgen para untar una vez cocidos

Mezclar la harina, el boniato, la sal y el aceite en un bol grande, asegurando que el boniato queda bien distruibido dentro de la harina. Poco a poco añade el agua tibia, amaseándola todo rato hasta que quede bien unido. Forma una pelota, cubre con 1 c.p. de aceite y dejarlo descansar unos 15 minutos.

Poner la harina de arroz y maiz en un plato al lado de una tabla de cortar. Encima de la tabla, dejra dos trozos de film de plástico (o papel vegetal, que a mi no me funcionó, se pegaron a la masa), aprox. 25cm. Dividir la masa en 10-12 pelotas pequeñas iguales. Espolvorear con la harina del plato y aplastarla en forma de un disco. Aplastarla entre el plástico con un rodillo de masar, al tamaño de una palma, más o menos. Sacar la capa del plástico de arriba y coger el chapati en la palma de una mano. Espolvorear la otra mano con harina y darle la vuelta (como una tortilla española). Ponerlo con cuidado en una plancha bien calentita y cocinarlo a fuego mediano unos minutos o hasta que se formen unas burbujas. Dar la vuelta al otro lado y dejálo unos minutos. Puedes ir alternando de lados hasta que los dos se queden bien dorados.

Hay que servirles en el momento que salgan de la plancha o si no, untar con un poco de ghee o aceite de oliva y guardarles dentro de una servilleta o toallita de algodón.
DSC03178DSC03182
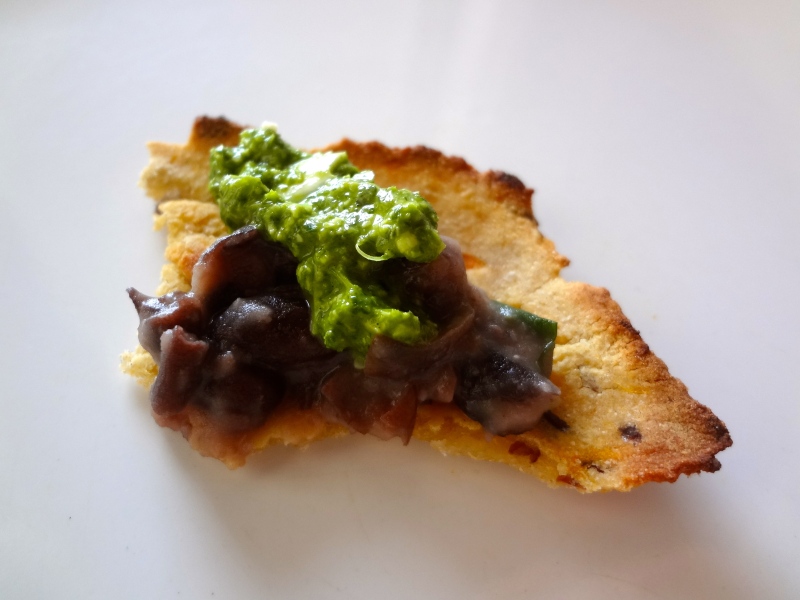
Frijoles negros con epazote

Hace poco que una amiga mexicana se fue a Inglaterra y me dejó todas las especias que tenía. Me dijó que la manera auténtica de cocinar los frijoles negros era con epazote, una hierba que se encuentra fresca en Mexico. Yo la pongo aqui, pero en seco. Yo dejo todos los legumbres en remojo 24h, cambiando del agua 2 o 3 veces. Así no te provocan las “molestias” que normalmente sufrimos a comer legumbres. Otro truco es añadir un poco del vinagre de manzana NO pasteurizado al plato.

1 taza de frijoles negros secos, remojados min. 8h.
agua filtrado (pongo mucho y así me queda caldo después)
1 c.s. epazote, en seco
1 cebolla, picada
2 dientes de ajo, picados
cilantro fresco
Sal marina y pimienta a ojo

Llevar el agua a bullición y añadir los frijoles, la epazote y una pizca de sal. Se cocinan todo junto durante una hora y media – dos horas a fuego mínimo o hasta que se queden bien blanditos. Guardar el liquído.

En una sartén calentar un poco de aceite de oliva a fuego bajo. Cuando esté caliente, poner la cebolla con una pizca de sal. Saltearla sola unos minutos y añadir el ajo. Cuando hayan pasado 5 minutos, añadir los frijoles, machándolos mientras se cocinan. La idea es que quedan trozos, no como puré. Tendrás que ir poniendo a ojo el caldo de los frijoles, que se secan muy facilmente y más cuando se enfrían. Piensa en risotto aqui: poco a poco, justo cubriendo los frijoles con el liquído y poniendo más cuando lo hayan chupado. Si no vas a comer todos el mismo día, recomiendo guardar el caldo en la nevera para cuando les recalientas.

Espolvorear con un poquito de cilantro fresco a apagar el fuego.
DSC03137

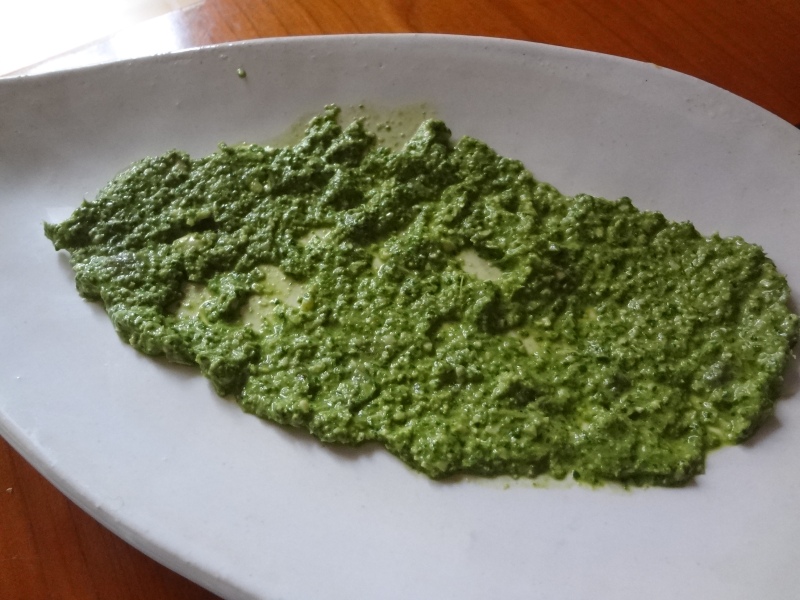
Pesto de Cilantro, ligeramente adaptado de esta receta de Sprouted Kitchen.

3 dientes de ajo
1/2 cup pepitas, en remojo toda la noche
1-2 c.p. sal marina
1 manojo grande de cilantro fresco, hojas y ramas finas
Ralladura de una lima
Zumo de 1-2 limas
80 ml o 1/3 taza de aceite de oliva virgen
1 chili picante (opcional)
1-2 c.s. agua

Mezclar todo en un food processor/batidora o batirlo con un mini primer. Se guarda bien en la nevera durante 1 semana y en el congelador unos meses.
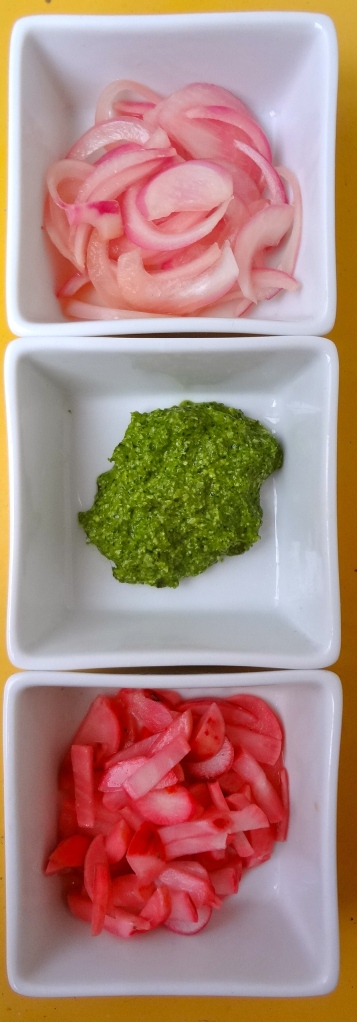
DSC03154

Quick pickles

1 cebolla mediana
8-10 rabanitos pequeños
2 c.s. vinagre de manzana NO pasteurizado
sal marina

Cortar todo en media lunas finas. Mezclar con el vinagre y la sal y dejar toda la noche en la nevera.

_ _ _ _ _ _ _ _ _ _ _ _ _ _ _ _ _ _ _ _ _ _ _ _ _ _ _ _ _ _ _ _ _ _ _ _ _ _ _ _ _ _ _ _ _ _ _ _ _ _ _
disco_soup_patata_blau

Aprovecho la entrada para invitaros al Disco Soupe, un evento en que colabora COSECHA que se hará el 14 de diciembre.  Ha tenido mucho éxito en otros capitales europeos y ¡por fin llega a Barcelona!  Su fin es conscenciar la gente sobre el derroche alimentario y la cantidad de alimentos perfectamente combestibles que se tiran día a día.  Recogeremos de los mercados todas aquellas frutas y verduras que por razones estéticas se desechan día sí día también, la cocinaremos, la comeremos y la haremos bailar, todos juntos.

Asistirán Feeding the 5000, Esther VivasEspai ambiental para darnos una visión actual del derroche alimentario: situación actual y soluciones.  ¡No faltarán expertos del campo y oportunidades de informarte!

¡Ven con un cuchillo, un pelador y sobre todo ganas de pasarlo bien!

Tienes más información sobre la Disco Soupe Barcelona en esta página: http://discosoupebarcelona.wordpress.com/  y  Facebook

¡Os espero!

Jesse

Continue reading

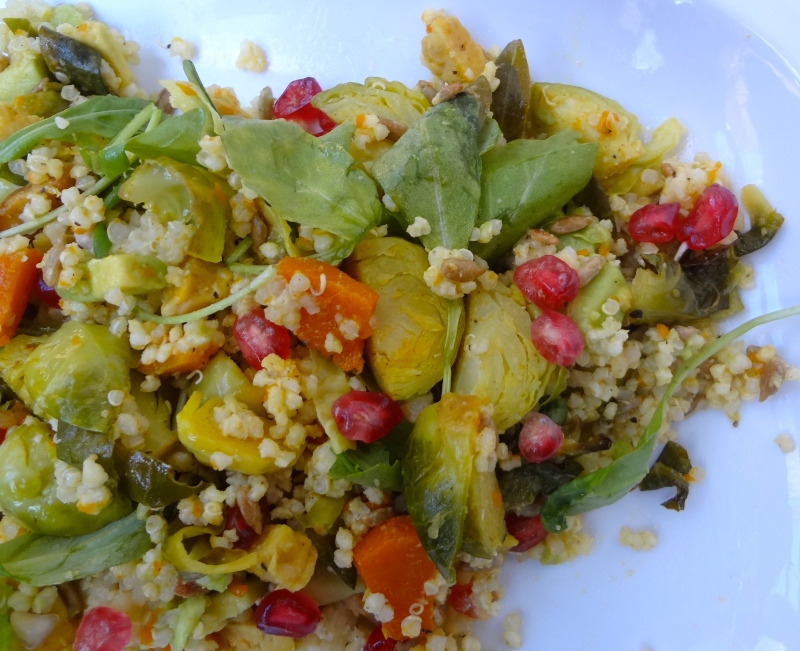
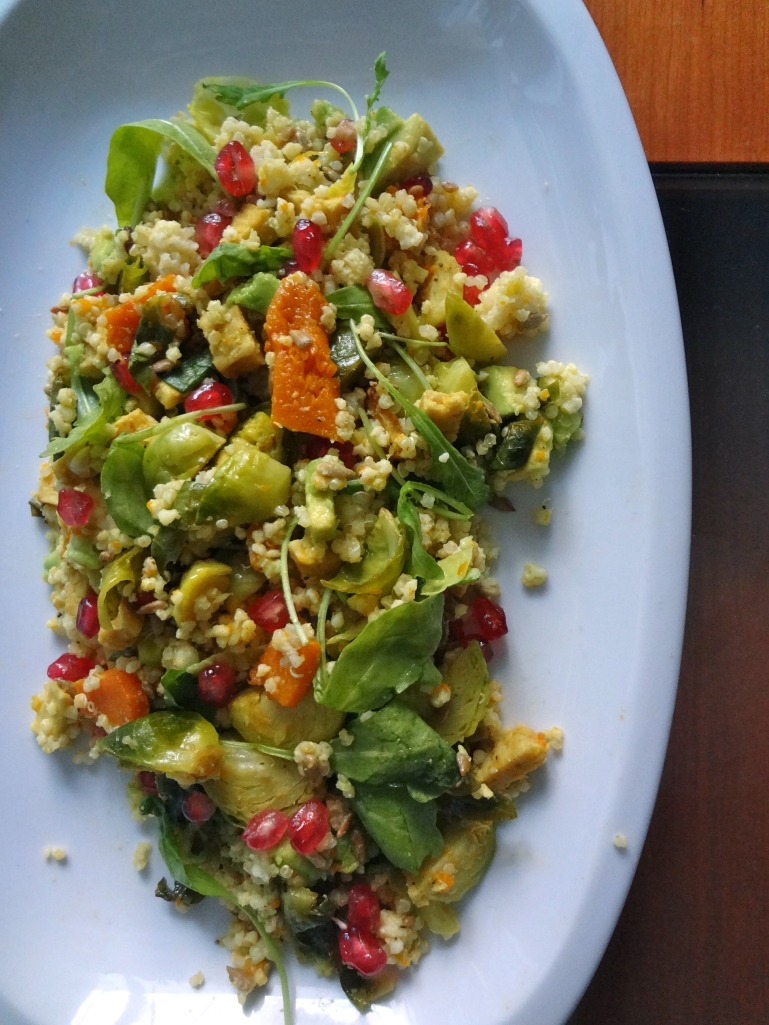
Citrus Autumn Pilaf with Maple Roasted Brussel Sprouts

DSC02464

Life has been really busy this fall.  Between flat hunting, starting and changing jobs all within 1 month, making an effort to form a community here in Barcelona (for what seems like the bigillionth time), the recurrent theme seems to be change, cleaning out the old and making way for the new.  I heard back in January that 2013 would be a year of change and fresh opportunities and I’ve known that to be so true not only in my life but in those of friends and family alike.  Political and social unrest, independence movements, people coming and going from the earth, couples breaking up or making serious commitments, drastic changes in lifestyle and life direction seem to all be more pronounced than ever.  I know I’m not telling you anything new.  This is what life inherently entails, right?  I’m going to be a little cliche here but haven’t we all heard the saying, “The only thing constant is change.”?  True that, Heraclitus.

La diada catalana // manifestation for Catalan independence

La diada catalana // manifestation for Catalan independence

Maybe it’s just that I’m paying more attention or perhaps there really is something in the air.  Either way, I can feel my world shifting and my mind and soul opening to all kinds of new possibilities.  Things are happening here and I’m going to embrace them with arms wide open.

DSC02560

“Alice: Would you tell me, please, which way I ought to go from here?
The Cheshire Cat: That depends a good deal on where you want to get to.
Alice: I don’t much care where.
The Cheshire Cat: Then it doesn’t much matter which way you go.
Alice: …So long as I get somewhere.
The Cheshire Cat: Oh, you’re sure to do that, if only you walk long enough.”

-Lewis Carroll, Alice in Wonderland

Part of that means you’ll be seeing a lot more of me around here.  And hopefully by the end of the year, I’ll be offering up much more than recipes.  I’ll keep you posted…

DSC03242DSC03246DSC03245

Thanksgiving is just around the corner and it’ll be the third consecutive I’ve missed since living in Spain.  I’ve managed to celebrate it every year with friends, coercing them with good food and lots of vino tinto.  Not too hard as you can imagine.  One year I even had my mom and sister here but I think we ate jamón and tortilla española.  Let’s just say we’re not very traditional.

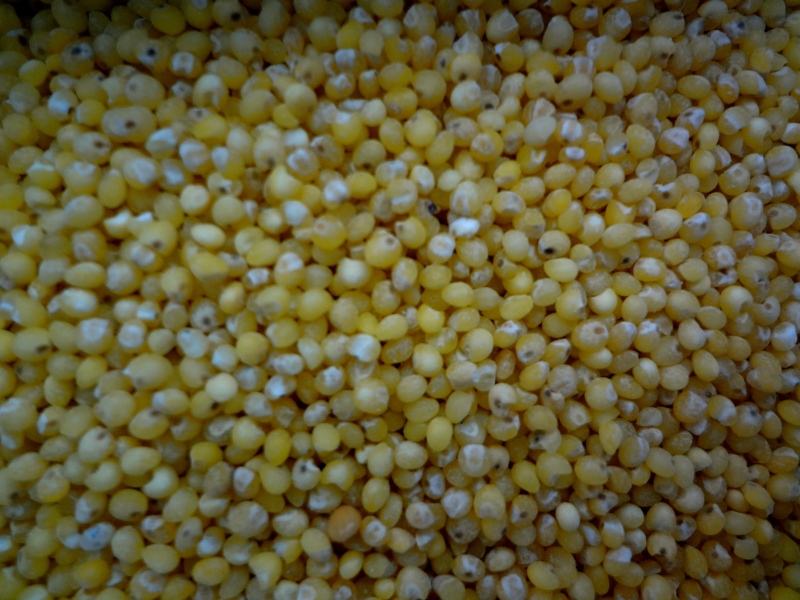
When I made this the other day, I had no intention of making a Thanksgiving related dish.  I had no idea what day Thanksgiving even fell on this year.  But you know how some people really love to hit the snooze button 10 times before getting out of bed?  I like to daydream for a few before my feet touch the ground.  It feels so luxurious in a way.  I woke up thinking of how I could use the left over millet and quinoa I had made the night before and already had the bones of this recipe before I got out of bed. And when I tasted it, it was, well for lack of better words, like Thanksgiving in my mouth and that’s when I knew I had to share this before the big day.

DSC03255DSC03266

It’s a wonderful addition to any Thanksgiving table, whether that table be a vegetarian, vegan, flexitarian, or totally-meat- loving carnivorous one.   It’s loaded with protein and healthy fats, easily subbing in for the traditional turkey centerpiece or going alongside it.  The arugula and pomegranate freshen it up a bit and pack in some vitamin C goodness and antioxidant love.  In this salad, the veggies definitely outweigh the grains, making it a lighter option than other starch oriented dishes.  I love that it mixes raw and cooked, leaving you warm yet light.

A great way to preserve some of those valuable nutrients we lose by baking citrus and vegetables but still manage to get the aromatic flavor-depth that comes with heating is to use a mixed approach. I suggest adding half of the ingredients for the marinade to the mix before it’s roasted and the other half once it’s out of the oven and has cooled just a bit. Try using this method in this recipe for the citrus, spices like ginger, turmeric and cinnamon and herbs.

 DSC03276

Citrus Autumn Pilaf with Maple Roasted Brussel Sprouts

You can play around with the citrus here.  I used mandarin oranges but honestly I think their juice may be too sweet.  You’re looking for something a tad bit tart to balance the maple so try regular oranges, lemon, grapefruit or even lime.   I also happened to have on hand some cilantro-pepita herb spread (recipe coming soon!) that made this dish sing.  I imagine it would pair well with a number of greens/herbs.

I suggest cooking the millet and quinoa ahead for two reasons: it’s easier to manipulate when mixing in all the ingredients (millet tends to turn to mush the more you mess with it when it’s just cooked) and secondly because it divides up the active time you’ll spend in the kitchen. I usually put a pot on of grains whenever I’m working from home. As it keeps for a good 4 days in the fridge, it really makes recipes like this possible weekdays.

DSC03258

2 cups cooked millet and quinoa** (you can cook them together)
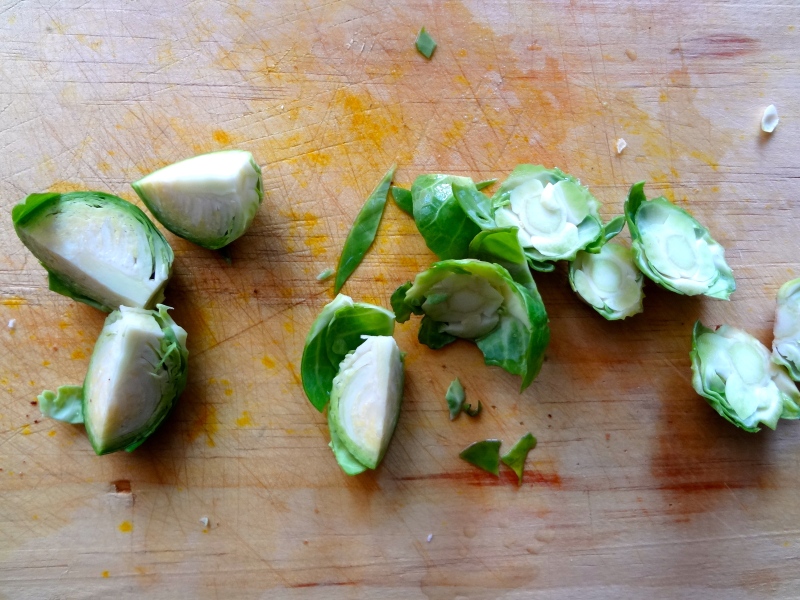
400g (14oz/.88lb) Brussel sprouts, quartered
1 ripe avocado, diced
1 handful arugula (or other bitter/spicy greens)
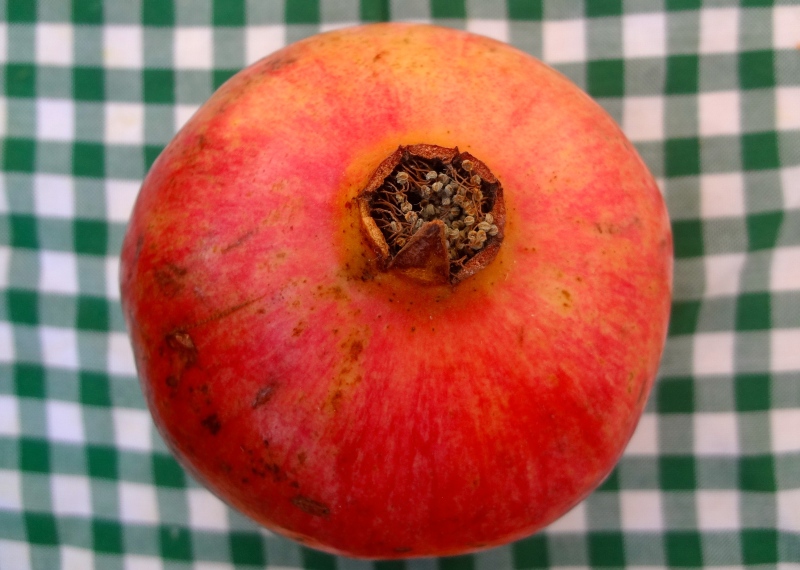
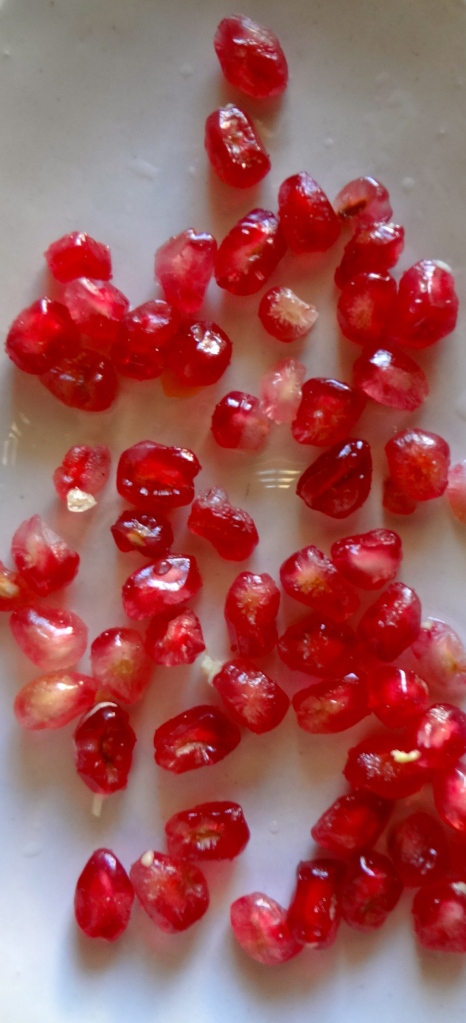
Seeds from 1/2 med-large pomegranate, pith removed
150g (0.3lb) pumpkin/sweet potato/winter squash, peeled and diced
125g (4.4oz) tempeh, cut into little cubes
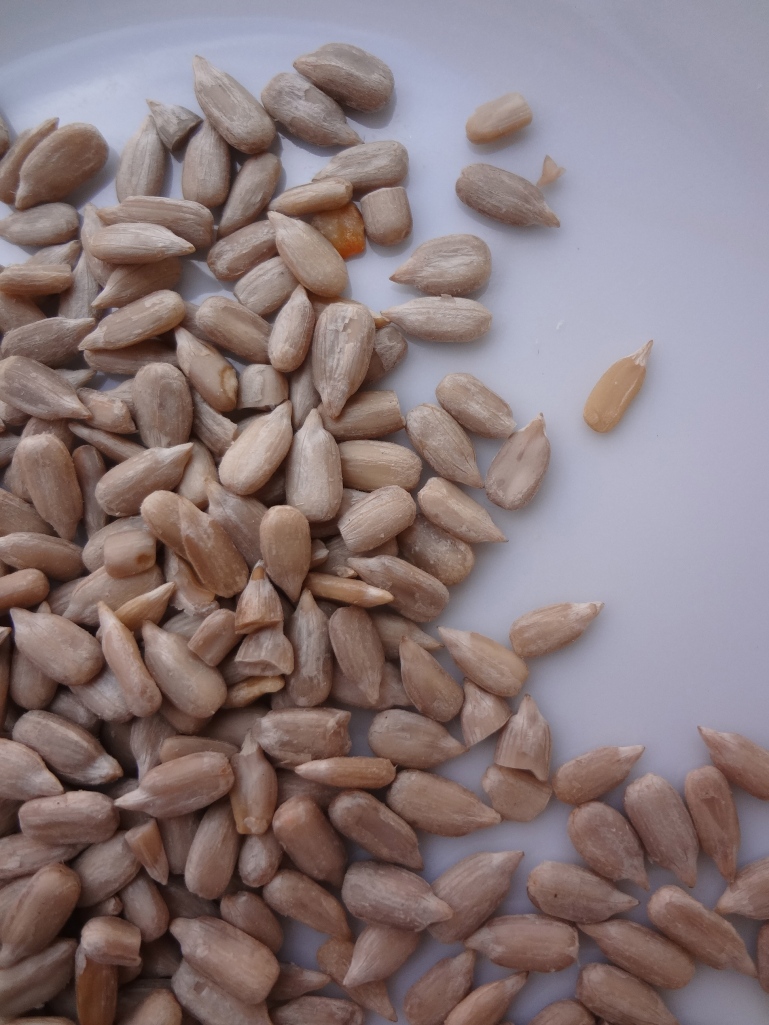
1/3 cup raw sunflower seeds, toasted
Zest from 1 organic lemon
3-4 tbsp orange juice
1/2 tsp turmeric
1/2 tsp cinnamon
1 tbsp freshly grated ginger
1/3 cup extra virgin olive oil
sea salt
freshly ground black pepper
1 tbsp apple cider vinegar

Maple citrus glaze:

1/3 cup e.v. olive oil
1 tbsp grade B maple syrup
3-4 tbsp orange juice
Lemon zest
1 tbsp freshly grated ginger
1/2 tsp turmeric
1/2 tsp cinnamon
big pinch of sea salt
black pepper
red chili flakes (optional for those who like heat)

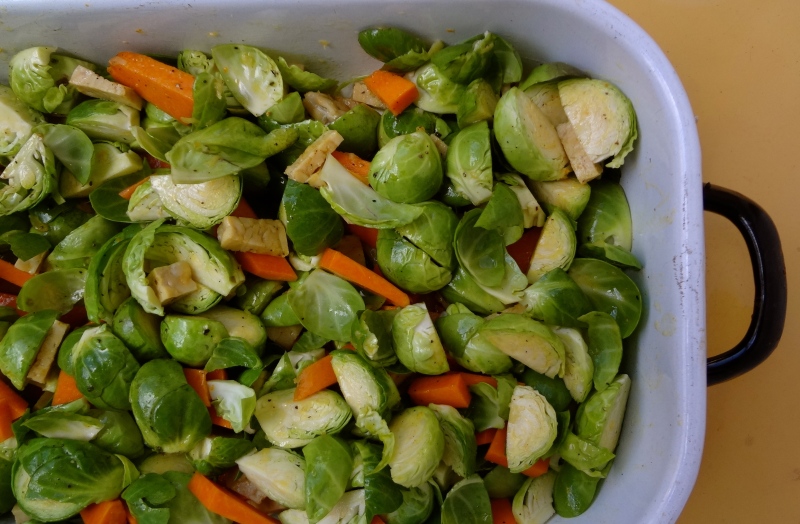
Pre-heat the oven to 180C (350F) and placed the rack in the top third of the oven. Rinse the brussel sprouts and quarter each one. If you prefer to chop off the rough ends, do so but keep in mind that the brussels won’t hold together as well. Dice the pumpkin and tempeh into cubes. Mix together the brussel sprouts, pumpkin and tempeh in a big bowl or directly in your baking dish and set aside.

In a different bowl, using a whisk, combine the maple syrup, orange juice, lemon zest, ginger, turmeric, cinnamon, sea salt and black pepper. Slowly incorporate the olive oil, stirring constantly.

Pour the glaze over the vegetables, using your hands to insure each little bit gets coated. Spread them out in a single layer, using two dishes/trays if you have to. Place in the oven for 30 minutes or until the brussel sprouts are golden, stirring once or twice along the way.

While the roasting is going on, seed the pomegranate and set them aside. Chop up the avocado and put them in a separate bowl, preferably big as it’s here you’ll mix the salad. Heat a cast iron skillet on medium-low heat and when it starts to give off heat, add the sunflower seeds and toast them for about 5 minutes, shaking and stirring often and keeping an attentive eye on them, as they can go from golden to burnt in a flash. Take them out of the pan and add them to bowl.

Take the Brussel sprouts out of the oven and allow to cool slightly for about 5 minutes. Add them to the bowl with the rest of the ingredients and mix them together. Finally, toss in the grains, pomegranate, rucula and apple cider vinegar and combine until all of the ingredients are evenly distributed. Salt and pepper to taste, and if using the “mixed method”, add in the remaining citrus and spices here.

Optional add-ons: herb spreads, sauerkraut, sprouts…

** I had only about 1/2 cup (uncooked) quinoa I needed to used up so I added that to 1 cup of millet and cooked the two together for 15 minutes, letting them rest with the lid on for about 10 minutes afterward. If you prefer to just use millet, that’s fine although you’ll lose a little bit of the protein from the quinoa and the contrast in texture. It’s very important to let the grains cook over low heat with the lid on and resist the temptation to take peeks and stir. Your reward will be a firm, fluffy grain that holds up well in this salad.

DSC03284

Swiss two ways

DSC02927

I try to plan meals ahead of time and make a solid list before heading out to markets and shops.  I do it for two reasons: first, it helps eliminate a lot of waste that would unnecessarily occur otherwise and second, probably most importantly, as an attempt to control myself.  You see, while others are shopaholics, chocoholics and lots of other -oholics, I am a self-confessed vegoholic.  Yep, I said it.  VEG-O-HOLIC.
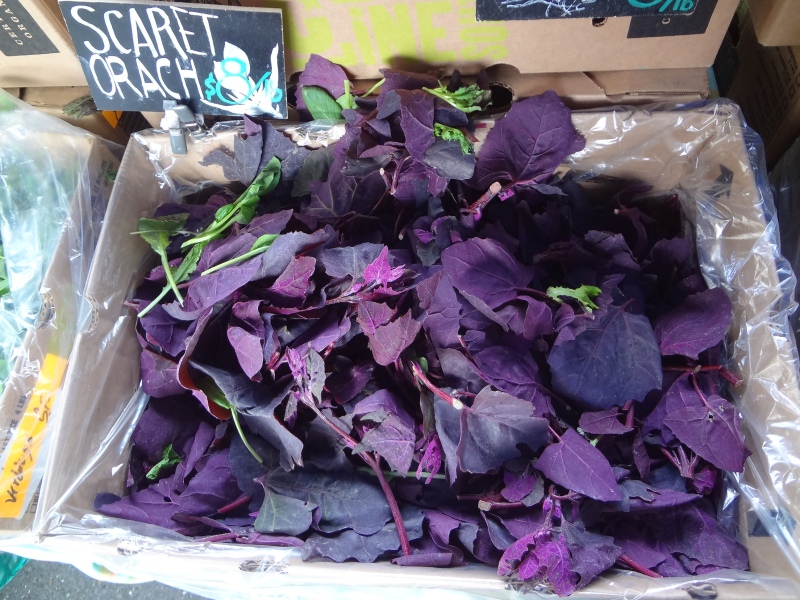
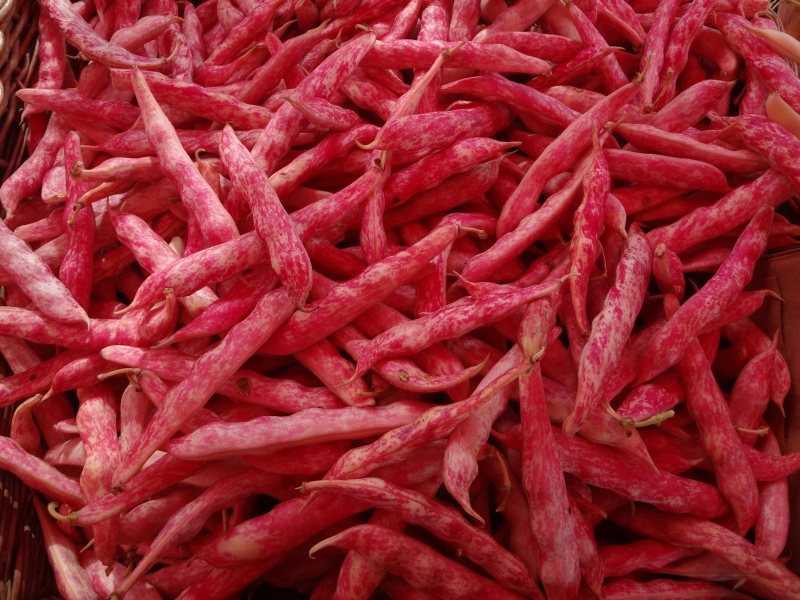
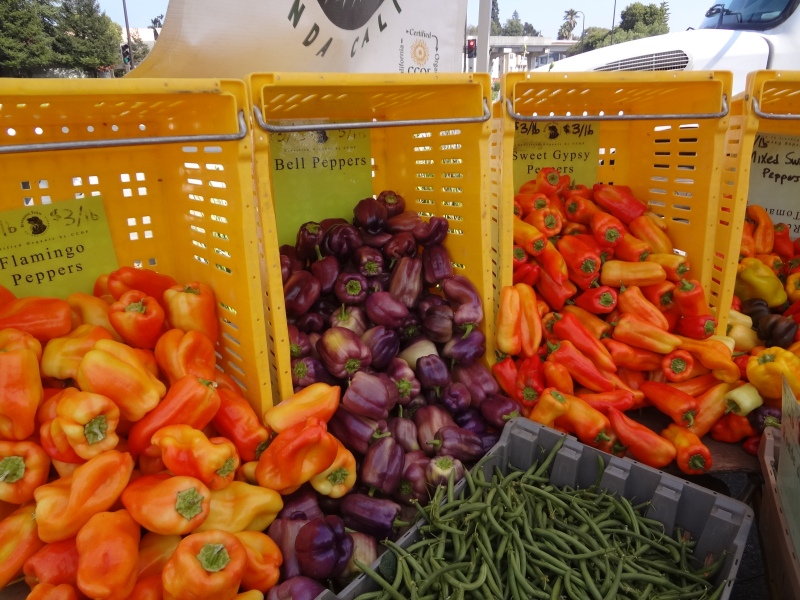
You know how some people claimed they stole something because it just speaks to them?  That’s kind of what happens to me except it´s the veggies talking not a shiny stolen ring.  Before you think I’ve gone totally nuts, let me explain.  To me there is nothing more visually stimulating and beautiful than to be surrounded by a variety of fresh produce.  It breathes life, like a living work of art.  I love their imperfections and diversity and discovering new varieties I’ve never seen before.  The stranger the better, like purple runner beans, rainbow carrots, white eggplant…the more unusual, the more likely it is to end up in my basket.   I’m like a child in a candy shop, looking over (and usually trying to touch) every last thing.

DSC02747

DSC02282DSC02291
DSC02939
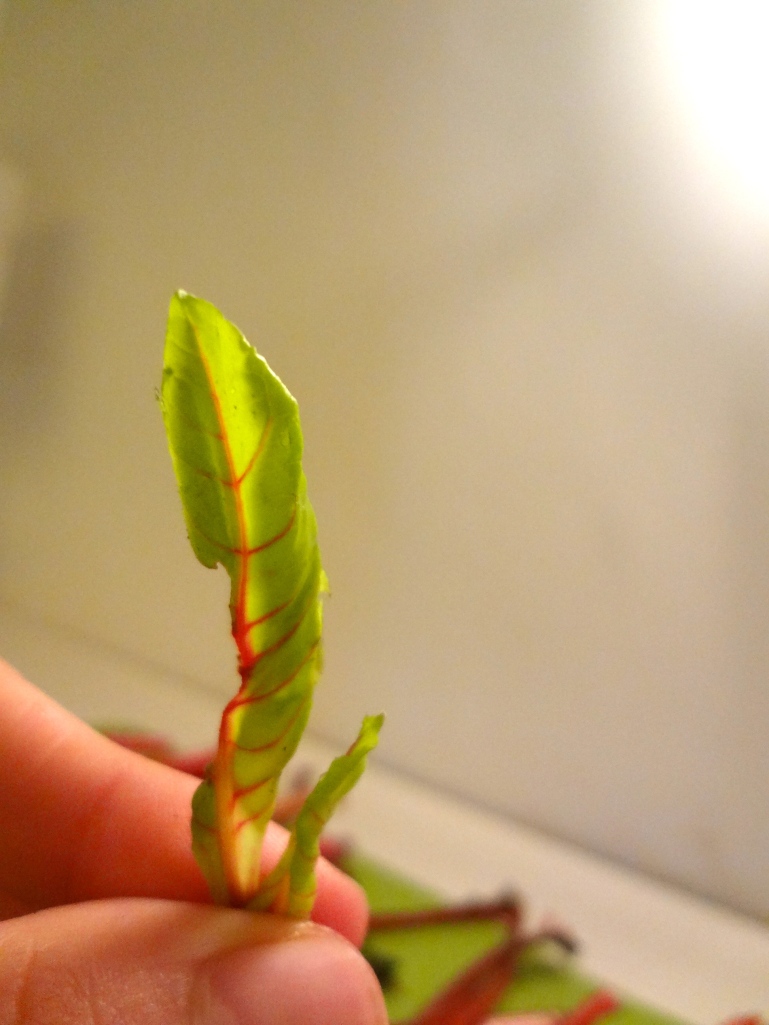
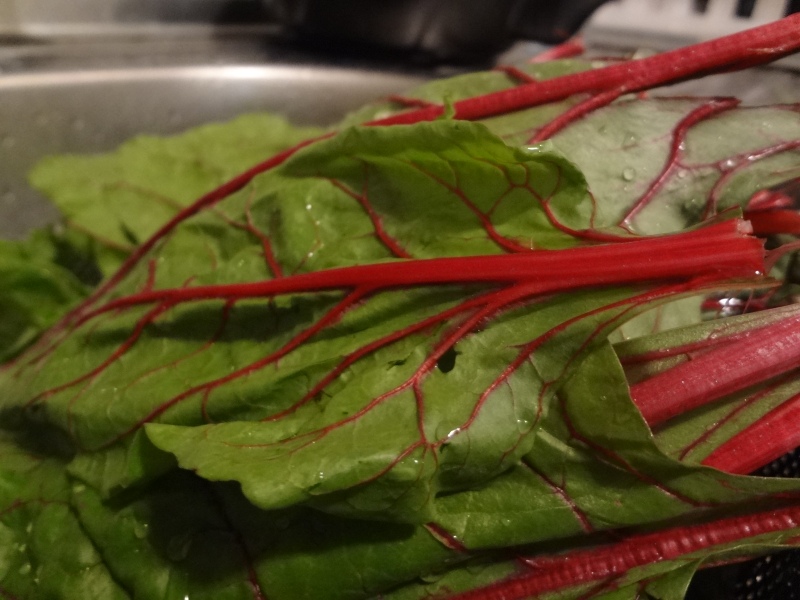
So even though I make lists, with all of my best intentions, it goes right out the window when those purple, orange, yellow hued beauties come into sight.  I gotta have what’s looking good…call me human.  This is exactly what’s been happening with me and Swiss chard lately.   The traditional white-and-green leafy Swiss isn’t so bad but her vibrant red and rainbow stalked cousins are show stoppers.  Let me introduce you to Swiss chard, a vitamin and mineral super star.

Swiss chard belongs to the leafy greens group that’s all the rage these days.  It’s a great source of vitamins like A, promoting skin and intestinal lining health, and K, underestimated in its’ role in bone health.  It has lots of fiber and a great veg for those watching their weight, as it fills you up with minimal calories.  Not to mention minerals like calcium, potassium, and magnesium.  Magnesium not only increases absorption of the others but with the help of potassium also protects against the formation of calcium-oxalate kidney stones.
Pretty amazing as Swiss chard has one big problem, shared by spinach, in that they contain lots of oxalates.  Oxalates inhibit the absorption of minerals, especially calcium and iron, forming microscopic crystals that then pass to the urinary tract.  By cooking Swiss chard and throwing out the water (and thus oxalic acid), we can eliminate up to 50% of that problematic oxalic acid. In other words, to be the breaker of bad news, Swiss chard and spinach shouldn’t be eaten raw REGULARLY in LARGE quantities.  If you do choose to eat these guys raw, make sure not to combine with food rich in calcium or iron and to eat them in small amounts.  If you are someone who already has a borderline deficiency or diet low in these important minerals, a sufferer of kidney stones and/or joint problems, you should be especially careful.

DSC02920

Referencing natural chefs and internet sites alike, three (3) minutes seems to be about all you need to get rid of these guys with minimal vitamin and mineral loss.   Here’s how:  Bring a big pot of water to a boil and thow in the chard, chopped roughly in big pieces.  Wait till it comes back to a rolling boil again and count 3 minutes from there, boiling uncovered.  Strain the chard and rinse with cold water to stop the cooking process.

Like always, moderation is key.  My rationale is that by getting rid of a good bit of oxalates (and some minerals and vitamins) in cooking the chard, the better I can absorb that nutrients that are left.  Compensate with other sources of vitamin C, iron and calcium and don’t combine chard with your primary sources of these nutrients.  Use a variety of leafy greens (kale, broccoli, dark-leaf lettuce, cabbage) and eat them raw when you can.  Add a few drops of lemon to your meal for some extra vitamin C.  You get my drift?

#1

DSC02932

Swiss chard gratin with whole-grain mustard, lightly adapted from Tender by Nigel Slater

Wonderful book with stunning photos.  Here veggies are the center of the dish and the rest of the meal is planned around them.  Lately I’ve been making this recipe over and over again.  So simple, so good.

  • 500g (1lb) Swiss chard, leaves and stems
  • 1 tbsp whole-grain mustard
  • 400 ml (1 3/4 cup) rice cream (as a substitute for heavy cream
  • a handful of freshly grated Parmesan (vegans: use almond meal)
  • Salt and black pepper to taste

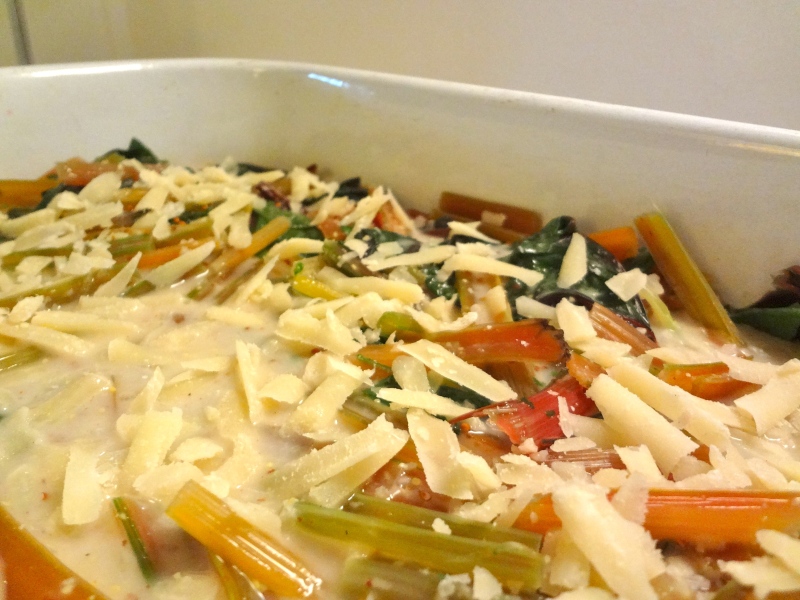
Preheat the oven to 350 F (180 C) and place an oven rack in the top third of the oven.  Separate leaves from the stems and wash both well.  You want to get all the nitty gritty out.  Chop the stems into smaller pieces and boil them for a just a few minutes until they become tender in lightly salted water.  Add the leaves for just 3 minutes, being careful not to overcook.  Drain the water and place them into a shallow baking pan, greased with a little olive oil or butter.  Meanwhile mix the cream with the mustard and a bit of salt and pepper and pour it over the chard.  Sprinkle the parmesan and bake for 10-15 minutes, until the top has a nice golden brown color.

#2

DSC02993DSC02999

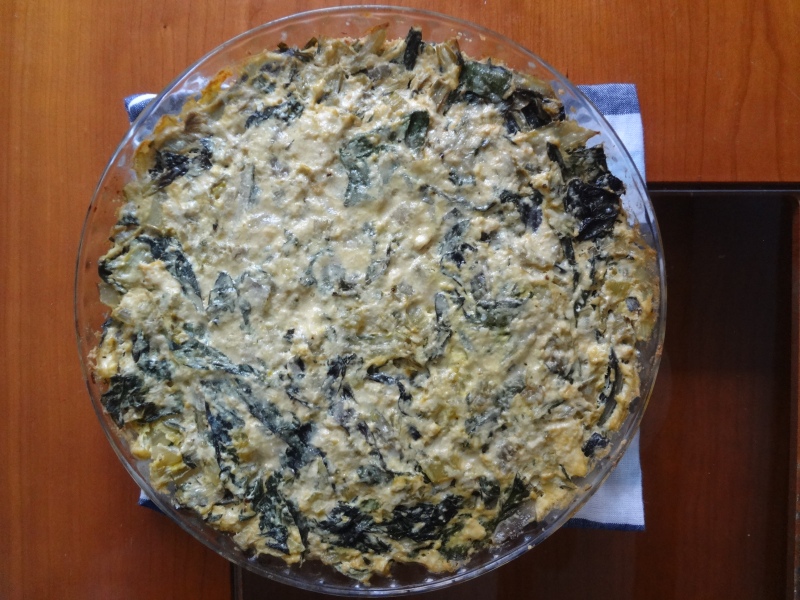
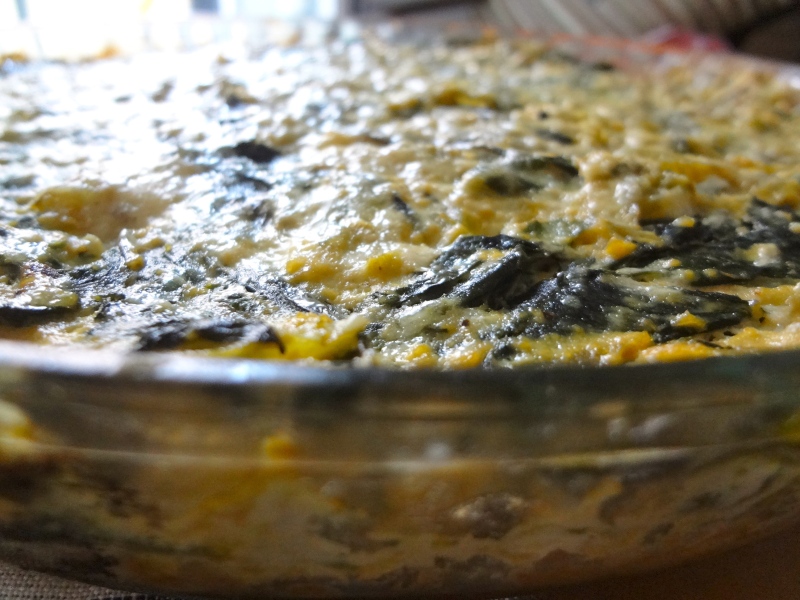
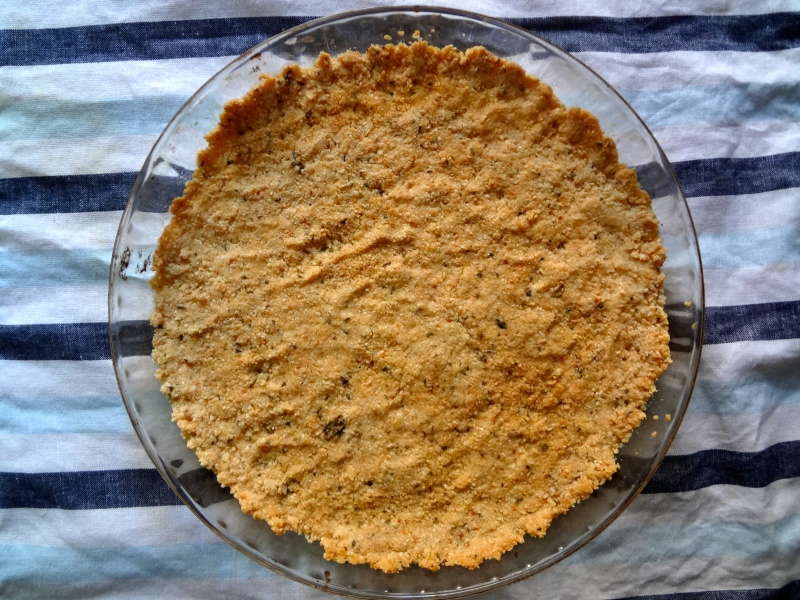
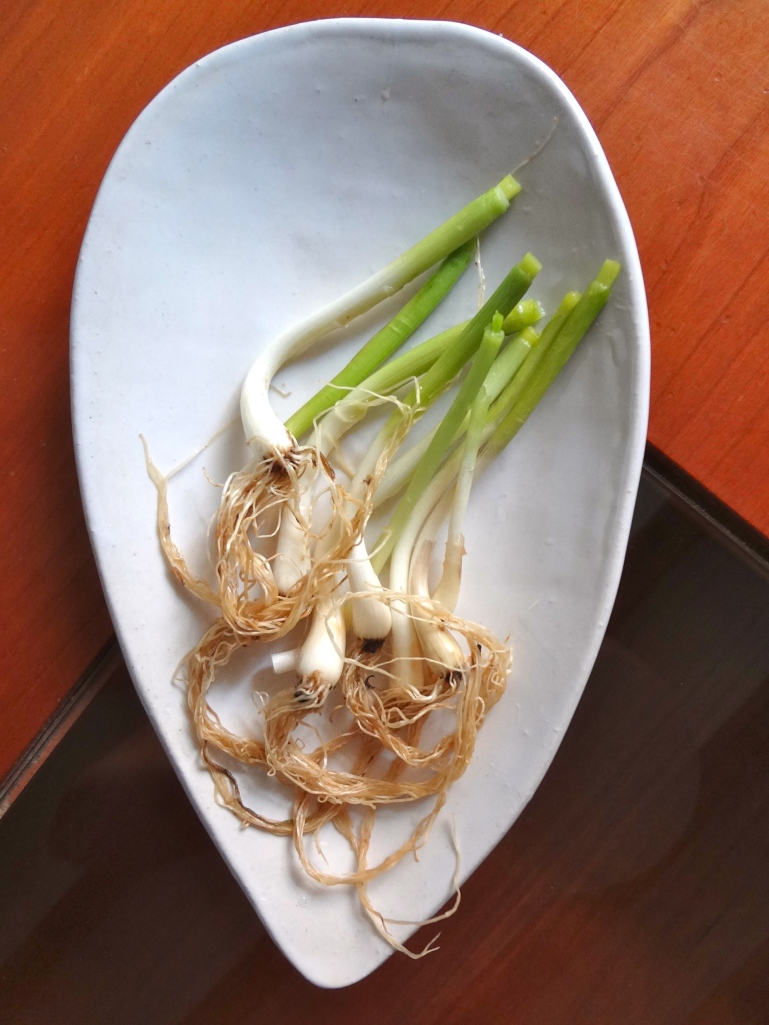
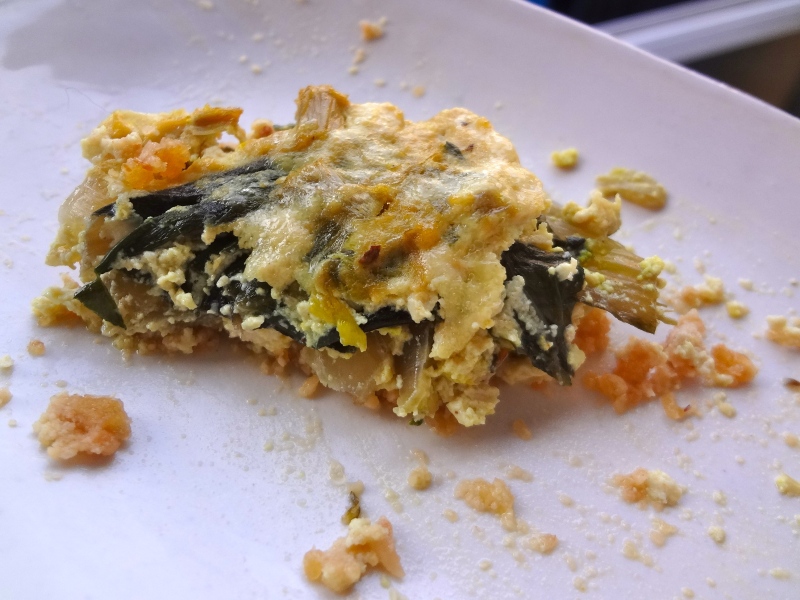
Swiss chard and green garlic quiche with almond crust, barely adapted from this recipe on Desayuno con Guisantes

Camila, the woman behind Desayuno con guisantes, does a great job adapting recipes to create a healthier version while still managing to come out with a tasty finish.  This quiche is no exception!

Crust:
DSC02955

      • 1 1/2 cups almond flour
      • 1/4 cup extra virgin olive oil
      • 1 tbsp lukewarm water
      • 1/2 tsp sea salt
      • 1 tbsp of freshly chopped thyme (or 1/2-1 tsp dried herb)

Filling:

DSC02983

  • 300g (10.5 oz) tofu ricotta (make your own here)
  • 1 bunch of swiss chard (400g/0.8lb)
  • 1 bunch green garlic, cut into thin strips
  • 1 tsp sea salt
  • Black pepper
  • 1/2 tsp turmeric
  • small handful of grated parmesan (vegan: leave off/sub ground sesame seeds or nutritional yeast)

Start by making the crust: preheat the oven to 380 F (190 C).  Combine the almond flour with the salt and herbs.  Gently mix in the olive oil and water, just until everything comes together.  It’ll more or less look like a crumble topping.  Press into a round pie dish with your fingertips until it’s compact and spread evenly.  Bake for 10 minutes or until it becomes that perfect golden color.

Wash and chop the green garlic and the swiss chard, separating the leaves from the stems.  Chop the stems into thin strips (same size as the green garlic) and the leaves as well if you’d like.  Heat a big pan with a little bit of olive oil or ghee.  Saute the green garlic for one minute.  Add the stems, salt, and pepper and saute for at least another 5 minutes.  If using blanched swiss chard, you can turn off the burner and mix the chard in with the rest of the vegetables.  If using raw chard, add it to the pan while it’s still hot and cook for 1-3 minutes, until it just starts to wilt.  Take off the burner and stir in the turmeric.

Combine the vegetables with the ricotta and place inside the almond crust.  Evenly sprinkle the parmesan over the quiche and place in the oven for about 20 minutes.  Allow to cool slightly before serving as the crust has a tendency to crumble. EAT!

DSC03005

Cooking friends

There have been many guest appearances in my kitchen lately…

DSC02987

DSC02914
DSC02953

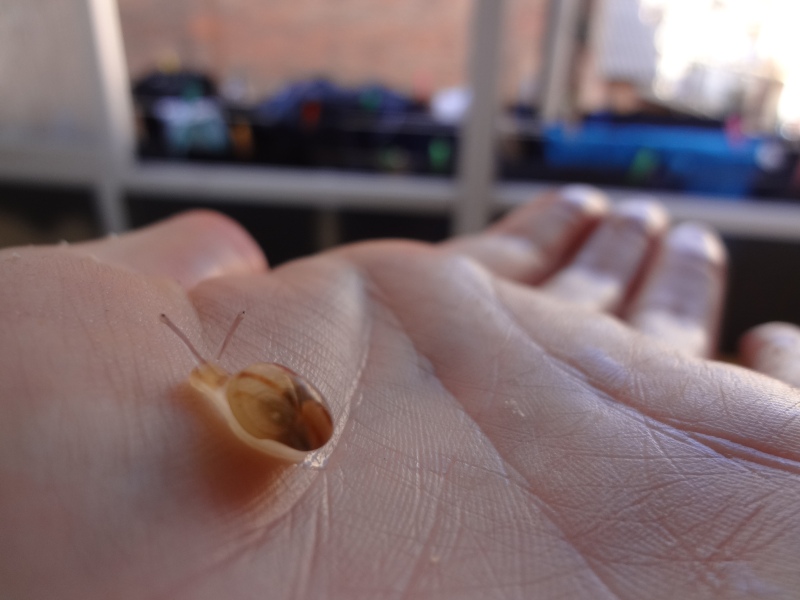
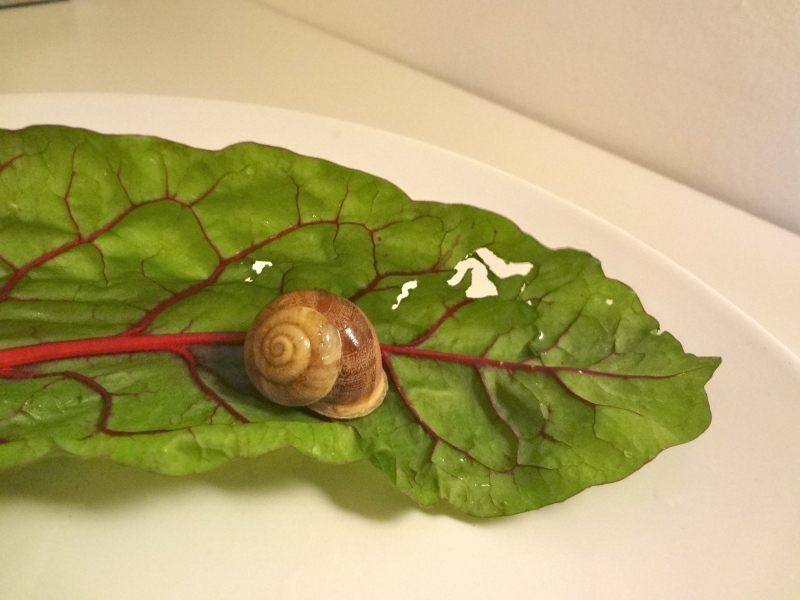
…and I’m loving it, even if they really don’t pull their own weight: they’re all eat and no work.  Not the world’s greatest kitchen helpers, if ya know what I mean.  I’m not particularly fond of gastropods but I take their presence in my produce to mean two things: fresh and free of toxic chemicals.  Something alive and thriving and chock full of nutrients.  If these herbivores are after what’s on my plate, it’s gotta be good, fresh stuff.

I’ve got lots of love for them but at the end of the day they get, as my mama would say, “a flying lesson”.  I live in a 4th story walk-up in an urban center so the closest greenery is a nearby potted plant or a sunny terrace.  Haven’t had any complaints yet! 😉

Coming soon are the recipes I’ve been making with these leafy greens, slug and snail-free of course.

Creamy coconut tomato bisque and how to fake it

DSC02763

I debated posting this recipe last time but decided against it because I feared it was too late to put up a tomato recipe.  I know that I technically bid farewell to summer on my last post but I just couldn’t let fall really begin without posting this AMAZING recipe.

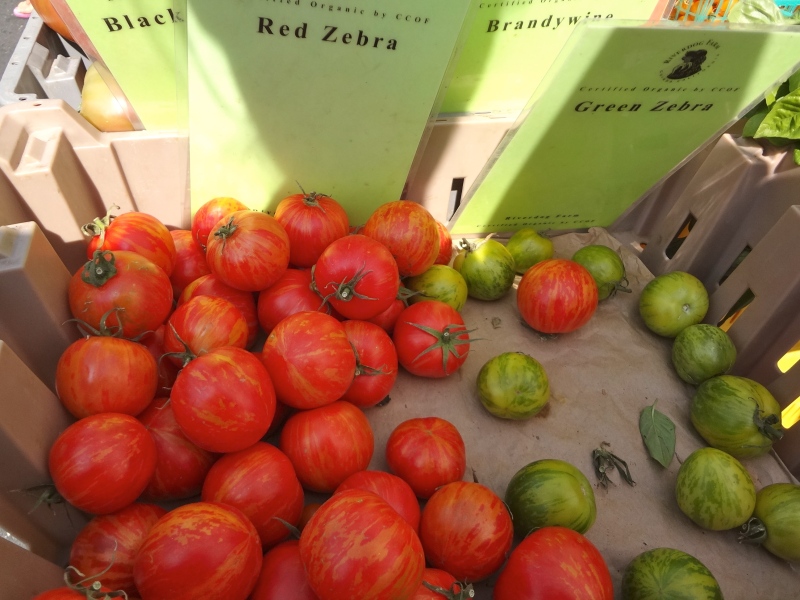
DSC02292Zebra tomatoes in Berkeley, California.

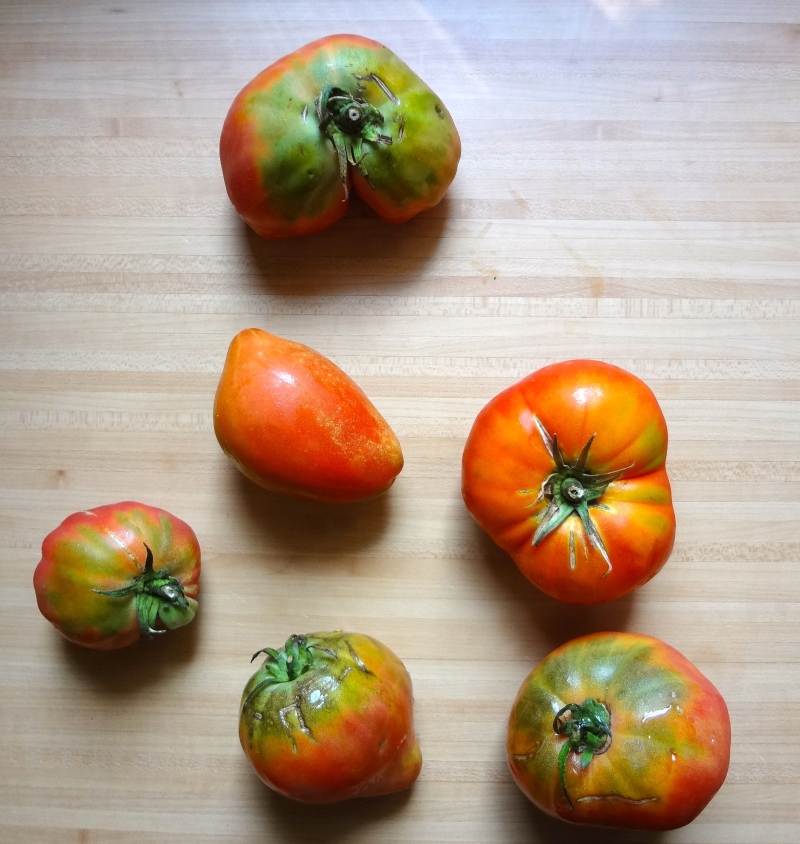
As I’m sure many of you are aware, tomatoes are not naturally year-round crops. They have a distinct season, which can vary depending on where you are: here in Catalunya the tomato season ends around late August – early September whereas some areas of California continue to have fresh, ripe tomatoes well into December.  The only way that you’re going to see tomatoes on the shelves in January and February is if  they’re coming from greenhouse production.  And what’s wrong with that, you might ask?  Well, for starters, the taste is, for lack of better words, BLAH.  They taste like nothing in particular.  And we’re talking about a fruit (because we all know that botanically tomatoes are fruit, right?) so delicious that early explorers of the New World found it worthy enough to send back to their homelands.  Another reason to hold off is the massive amounts of energy and water that are needed to grow summer crops year-round and transport them around the world.

“Es difícil tener tomates todo el año salvo que los envíen desde lejos, y para eso hay que introducir mutaciones en el proceso de maduración para que el tomate se recoja verde y madure durante el transporte y la comercialización, lo que de nuevo afecta a las características organolépticas y a su contenido nutricional”.

Tomatoes seemed to have arrived in Spain at some point during the 16th century.  They were treated with much suspicion and generally feared because they were thought to be poisonous.  While that may have been an exaggeration, they were onto something.

Tomatoes are part of the nightshade family, also known as Solanaceae.  Nightshades contain a substance, alkaloids, a metabolite which vary in potency among the different members of the family, but is present in all.  Some of the more deadly ones are: tabacco, morphine, opium and belladonna.  Tomatoes, as well as potatoes, eggplants, and bell peppers, contain a particular one known as Solanine.  It’s most visible in the green parts of these guys (which should ALWAYS be cut off and thrown away!) and the less ripe it is, the higher amounts they have.  Many individuals are sensitive to solanine and this substance tends to accumulate in the joints (i.e. knees, fingers, wrists..), contributing to diseases such as arthritis, rheumatoid arthritis, gout, kidney stones, osteoporosis, and hypertension,just to name a few.  That said, solanine is less likely to be as problematic when nightshades are eaten in season.   Our bodies are more equipped to filter out this troublesome substance in warmer seasons when the body naturally cleanses itself.  We sweat more in the spring/summer/early fall, drink more liquids and eat water-filled fruits and vegetables, eat lighter meals, all of which strengthen our body’s cleansers and our ability to filter out unwanted by-products of food.  For those that have an existing condition such as the ones listed above, it’s best to avoid nightshades year-round.

DSC02772

So enough with the bad news, let’s celebrate all that is GOOD about the tomato.  It’s loaded with minerals and vitamins, containing huge amounts of the famous Vitamin C and stands out in it’s content on Lycopene, a red cartenoid that not only gives tomatoes their red color but is also a powerful antioxidant and protector of the cardiovascular system.  Obviously the more it has ripened naturally, the more lycopene it has!  No wonder its’ season happens to be when we are exposed to large amounts of oxidation, i.e. the sun!  It also happens to be one of the few nutrients/fruit that’s nutritional profile increases when cooked…qué guay!

DSC02780

The key word here is moderation: nothing wrong with using some tomato preserves or cans once in awhile during winter for a favorite dish.  We can also use heat to give them some warmth (baking, roasting, sauteing) and spices (ginger, cayenne, cinnamon, garlic) during the chilly days of autumn and winter.

DSC02783

Creamy coconut tomato bisque, lightly adapted from Honest Fare

For those of you trying to avoid all dairy or just a little, i.e. lactose, this is a fabulous way to have your cream and eat it too.  Coconut milk lends that silky smooth goodness without the pain and discomfort.  You can use any kind of winter squash here and maybe sweet potato would work as well.  Play around with herb combinations: basil and cilantro for warmer months, chives, oregano and maybe even garlic scapes in the colder ones.

Recipe

  • 13 oz. (400 ml) can full fat coconut milk
  • 10 tomatoes (choose a less watery variety/if using canned, drain the water)
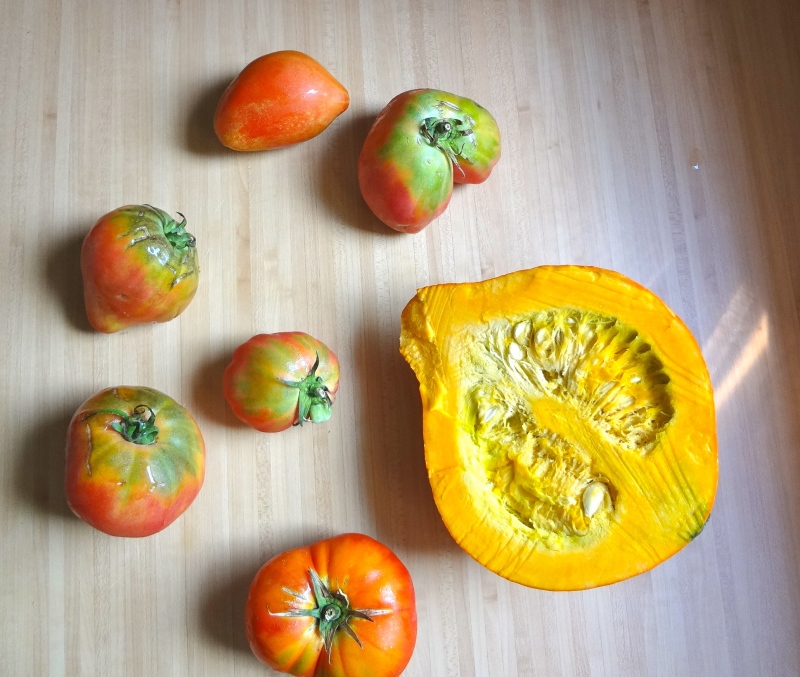
  • 3 cups Red Kurri squash
  • 1 Tbs maple syrup
  • Pinch of Asafoetida (indian spice)
  • Kosher salt to taste
  • Pinch of cayenne pepper or red pepper flakes (optional)
  • Cracked black pepper to taste
  • Garlic infused olive oil (or regular and minced garlic)
  • Small bunch of chives, chopped (save a little for garnish)
  • 1 cup water or vegetable broth

Preheat your oven to 375F (190C).  Prepare one cookie sheet, covering it with wax paper.  Cut your squash in half and scoop out the seeds (can be saved and roasted later!).  Rub the insides down with a little oil oil, salt, pepper, and the maple syrup.  Turn face down and roast for 25-30 minutes, depending on the size.  It’s done when you can pierce the skin with a knife with little resistance.

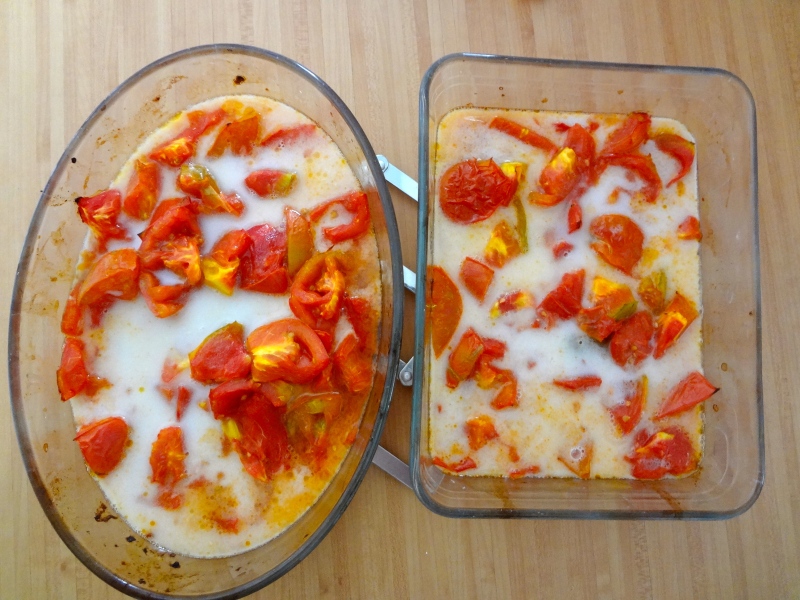
Chop up the tomatoes and toss them in olive oil, salt and pepper in a glass baking dish.  Roast alongside the squash until the skin starts to shrivel up and brown.

Pull the tomatoes out of the oven and add 1 cup of coconut milk while the tomatoes are still hot.  Mix together and allow to cool.  Once the squash and tomato mixture are cool, combine them with the herbs and cayenne pepper, if using, in a blender and blend until smooth, thinning with vegetable broth/water along the way.  Salt & pepper to taste.

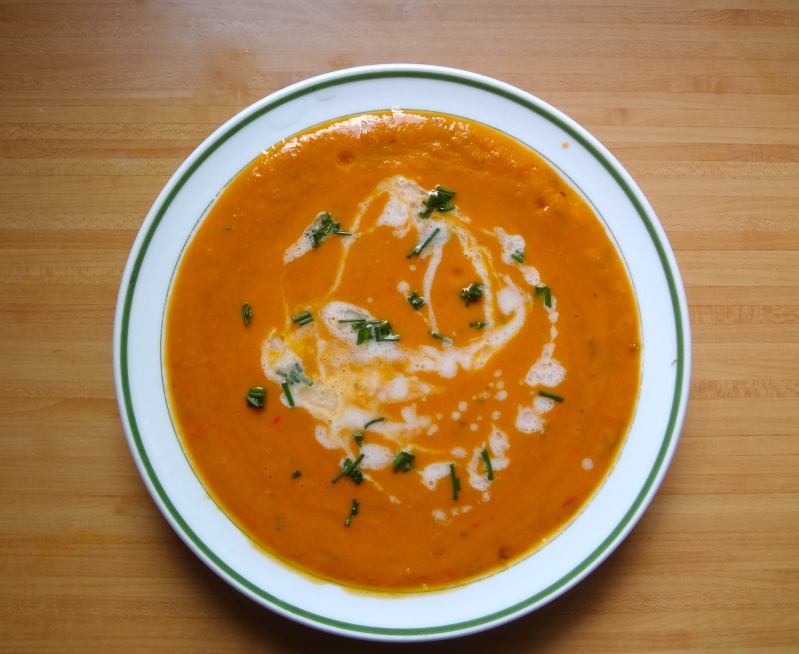
Serve with a drizzle of coconut milk and remaining herbs.

Faking it: a great recipe I learned as part of my nutrition program that seriously allows you to mimic that yummy tomato taste when tomatoes are nowhere to be found. Can be used as a substitute for spaghetti sauce, in lasagna, as pizza sauce or simply as a savory veggie spread. I usually end up just eating it with a spoon; it’s that good.

1/4 small roasted or steamed beet, peeled and diced (4-6 pieces)
3 yellow onions, diced
4 medium carrots
1 tbsp dried oregano (more if fresh)
1/2 tsp sweetener (rice syrup, maple syrup, honey)
1 tsp umeboshi paste or vinegar (you could also use brown rice or apple cider here)
1/2 cup water
1-2 tbsp extra virgin olive oil/ghee/grape seed oil
salt

Dice the the onions and toss them into a heated pan coated with olive oil and a pinch of salt.  Saute for 3-5 minutes, when they just begin to become translucent. Add the carrots, the oregano, and the water and bring to a boil. Turn it down to a simmer and cover, allowing the vegetables to soften for 15 minutes. In the meantime you can chop up the beat and prepare the other ingredients. When the veggies are easily pierced with a fork, remove from heat and allow to cool for 2-3 minutes. With a hand held blender or a food processor, mix all the ingredients together, checking for salt/pepper/oregano. Be conservative with the beet or you’ll end up with an overly sweet, pink sauce. The key here is balance: just a hint of sweetness, that acidity we know and love and a little salt to make it all pop.


Crema de tomate al coco, adaptado ligeramente de Honest Fare

Para los que no comen lácteos o evitan consumir algunos (i.e. los que contienen lactosa), esta receta es una manera fantástica disfrutar de una textura cremosa sin que te sienta mal la comida.  La leche de coco da un toque suave y cremoso y no lleva los inconvenientes de los lácteos.  Puedes utilizar cualquier calabaza que te apetezca y incluso podrías probar sustituendo el boniato.  Las hierbas aromáticas variarán durante el año: menta, albahaca y cilantro en los meses calorosos, tomillo, cebollino y incluso la parte verde de los ajos tiernos cuando hace más frío.

Receta

  • 400 ml leche de coco (1 lata, no desnatado!)
  • 10 tomates (elegir una variedad poco jugoso/si vienen de lata, escurrir el agua primero)
  • 3 tazas calabaza potimarrón
  • 1 c.s. sirope de arce (o miel/melaza/agave)
  • una pizca Asofetida (especie indio, con sabor a cebolla)
  • Sal marina
  • Pimienta cayena, a gusto
  • Pimienta negra recién molida
  • Aceite de oliva virgen, infusionado con ajos (o  aceite + 1 ajo normal, picado)
  • Un manojo pequeño cebollino, picado fino
  • 1 taza agua o caldo de verduras

Calentar el horno a 190C.  Mientras tanto preparar una bandeja cubierta en papel vegetal para la calabaza.  Cortar la calabaza en dos y sacar las pipas.  Untar por dentro con el aceite, sal, pimienta negra y el sirope.  Ponerlo boca abajo en la bandeja y al horno unos 25-30 minutos.  Está lista cuando puedes penetrar la piel con un cuchillo con poco esfuerzo.   Sacarla y dejarla enfriar.

Cortar los tomates en trozos y combinar con el aceite, un poco de sal y pimienta.  Meterlos en una fuente de vidrio y después al horno.  Estarán listos cuando la piel empieza arrugarse y cogen un color dorado-marrón.

Sacar los tomates del horno y mezclar bien con 1 taza de la leche de coco en la misma fuente.  Cuando estén frío, combinar los tomates, la calabaza, la cayena (opcional) y una buena parte de la hierbas (guardando un poco para guarnición) en una batidora o robot de cocina.  Ir mezclando poco a poco hasta conseguir una consistencia cremosa, añadiendo el agua o caldo a la vez, que no te quede muy espesa.  Probar la sal y pimienta, adjustando a gusto.

Haciendo trampas:  una receta que aprendí durante mis estudios de la Dietética.  Es un truco total que te permite una salsa de “tomate” fuera de temporada.  Se puede sustituir como salsa de tomate para pasta, en una lasagna, para pizza o como un paté vegetal.  Es tan buena que me encuentro muchas veces comiéndola a palo seco, con una cuchara.

  • 1/4 remolacha cocida, pelada y cortada en dados (4-6 piezas)
  • 3 cebollas, en daditos
  • 1/2 diente de ajo
  • 4 zanahorias medianas, en daditos
  • 1 c.s. orégano (más si es fresca)
  • 1/2 c.p. endulzante (melaza/sirope de arce/miel)
  • 1 c.p. pasta de umeboshi o vinegare (o vinegar de arroz o de manzana también funciona)
  • 1/2 taza de agua
  • 1-2 c.s. aceite de oliva virgen/ghee

Saltear las cebollas con el ajo con un poquito de aceite y sal a fuego medio, removiendo unos 5 minutos.  Añadir las zanahorias, el orégano y 1/2 vaso de agua.  Dejar cocer tapado a fuego mínimo 15 minutos.  Cuando todo esté tierno, pasar por la batidora o robot de cocina junto con la remolacha, sal a gusto, la umeboshi y el endulzante, adjustando hasta conseguir un sabor agridulce parcido al tomate.  Cuidado con la remolacha; si te pasas, acabarás con una salsa de color rosa.  El equilibrio entro el ácido y el dulce es la clave de esta salsa: el dulzor que nos encanta y el ligero ácido, destacada con un poquito de sal.