Raval//Chapati//Disco Soupe

DSC03213

Desde que llegué en Barcelona he cambiado de piso un par de veces pero siempre viví en el mismo barrio.  Hace poco que cambié de nuevo y me fui al otro.  Hace tres meses que vivo en el Raval, un barrio colorido, diverso, a veces conflictivo pero siempre lleno de vida.  Verás gente en la calle, da igual la hora que sea.  Gran personajes, catalanes “de tota la vida”, hipsters, caras del todo el mundo…son la gente del barrio.
DSC03210DSC03321DSC03315DSC03322DSC03191DSC03203
Aqui no hace falta viajar porque con la variedad de inmigrantes que inhabitan esta zona, tienes la sensación de poder ir a la India, Pakistan, Senegal y Marruecos, todos en la misma vuelta de cinco minutos.  Puede ser a la vez tanto agobiante como fascinante.
DSC03330DSC03333DSC03331DSC03334

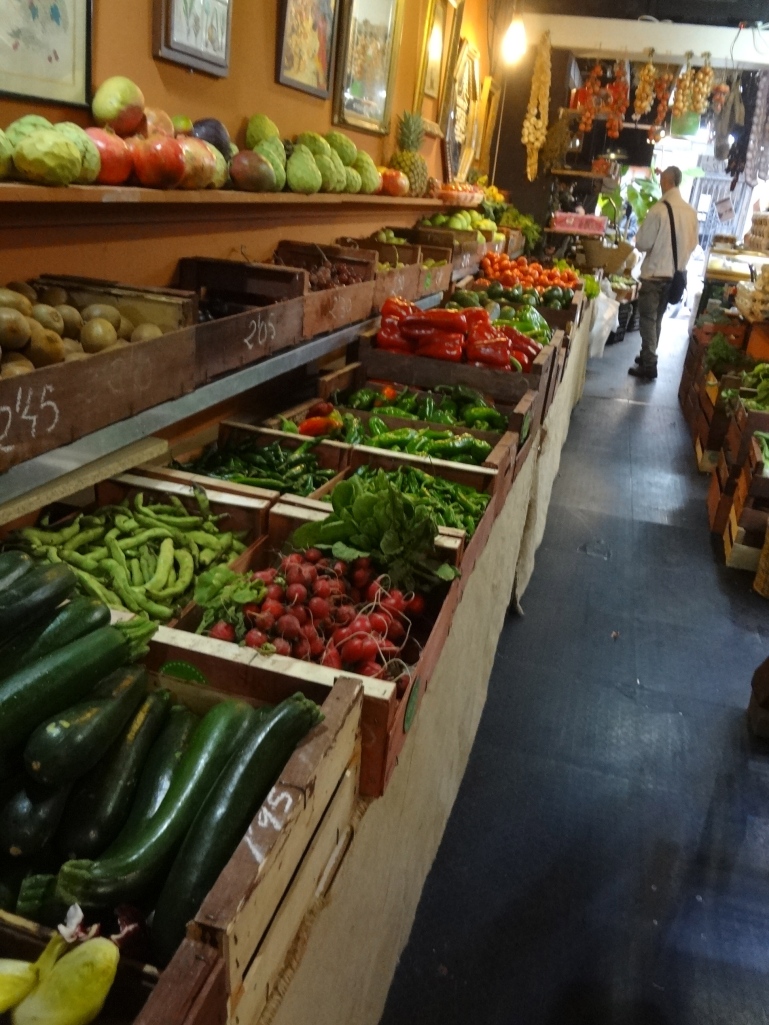
Una de las cosas que me encantan de vivir en el Raval es la variedad de alimentos que se encuentran.  No faltan tiendas de comida india, marroqui, pakistani además de fruterías con productos fresquisimos y bien de precio.  Sin mencionar que tenemos a cinco minutos andando el mercado de la Boquería, celebrado por su belleza y variedad de productos.  No sabes por dónde encontrar eneldo fresco?  Ahí.  Arándanos?  Ahí.  Especias varias?  Cabeza del cerdo?  Pues sí amigo mio, también ahí.

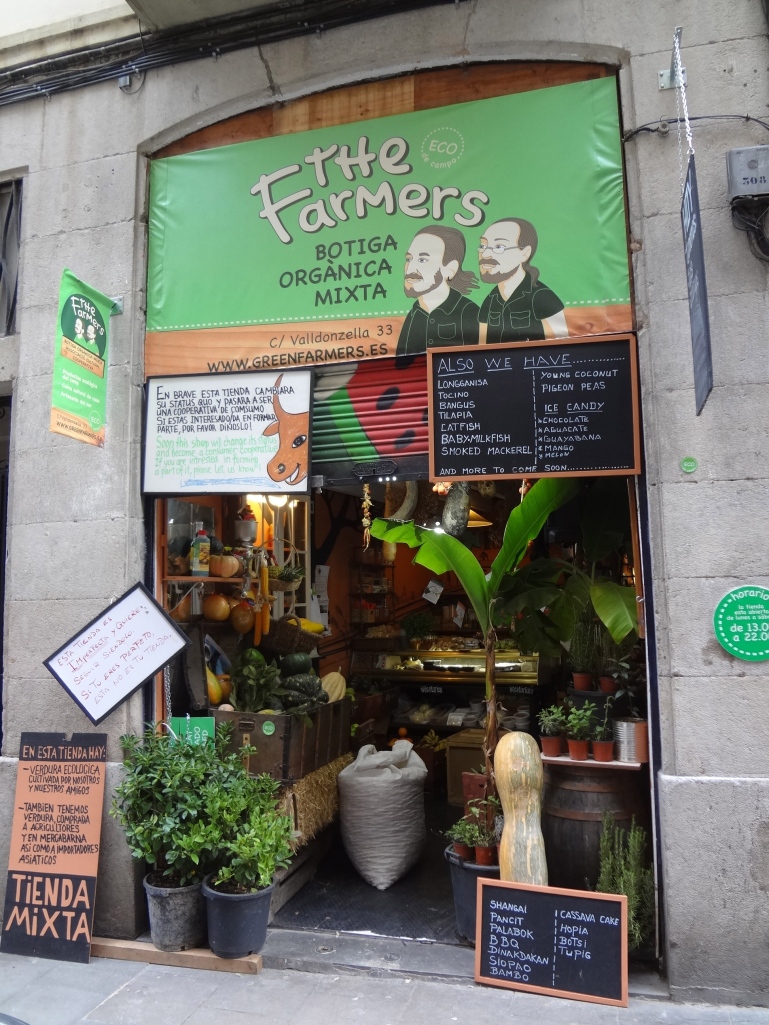
Me vuelve loca la gastronomía india, por las especias (el comino, la cúrcuma, el jenjibre, la canela, curries varias), los panes y la manera de combinar sabores.  Comparte con la gastronomía mexicana, mi preferida, varias especias, sabores y a veces la forma también (acompañado con arroz, tortas planas, chips crujientes de lentejas/los totopos).  Aunque Barcelona es una ciudad bastante cosmopolitana, cuesta mucho encontrar alimentos o ingredientes un poco exotícos.   No es como en los Estados Unidos o Inglaterra dónde en cada supermercado existe un pasillo de comida internacional.  Por un lado aprecio que hay tanta resistencia contra la globalización de la alimentación y que el vehículo entre la comida y la cultura es muy fuerte y por otro mi cuerpo me pide de vez en cuando unos sabores diferentes.  Antes, cuando me apetecía hacer un plato al estilo indio/mejicano/algo-no-típico-de-aqui, tuve que cruzar la ciudad buscando los ingredientes.  Tenemos la suerte de tener la Green Farmer muy cerca a casa, con sus productos ecológicos (¡incluso cultivo local de verduras asiáticas!) y variedad de especias, hierbas frescas y verduras a precios muy asequibles.  Me encantan.
DSC03219DSC03217DSC03220

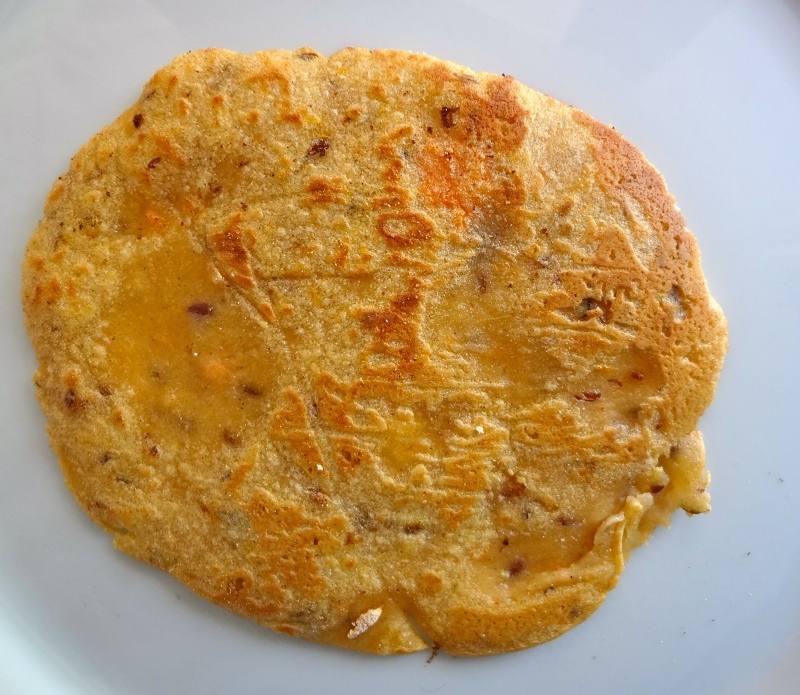
Por casualidad ahora tenemos una tienda india al lado, que fue enamorarme al entrar.   Todo el cilantro y especies que quisiera comer.  O sea genial.  Hace un par de semanas que entré y mientras que vi y tocaba casi todo que tenían, encontré unos chapatis con fenugreco y chili y los compré sin darle más vueltas.  Chapati es en un pan, parecido al naan pero incluso más fino.  No lleva levadura ni leche (el naan, sí) y está hecho a la plancha, una técnica más parecida a la tortilla mejicana.  Al probarlos en casa me encantaron pero para mi tenían dos inconvenientes:  primero, eran de producción industrial y por eso llevaron aceite vegetal (cuando no se especifica cual es, cuenta que es una grasa trans y de baja calidad) y conservantes para mantenerlos ahí el tiempo máximo en la estantería.  Segundo, están hechos al base de trigo, un alimento que estoy intentando evitar por completo.  Con un chapati bien calentito en la boca, me vino la idea de hacer mis propios en casa, esta vez sin gluten, sin conservantes y con grasas de calidad.

DSC03009

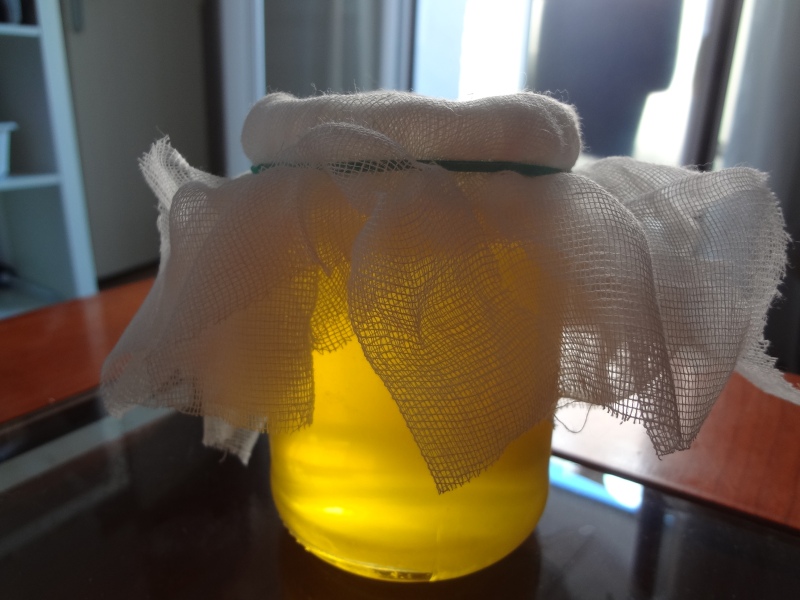
Homemade ghee

Las masas sin gluten tienen sus trucos y no soy experta entonces busqué una referencia en el blog de Shauna, la reina de las recetas sin gluten. Tienen videos, medidas americanas y las conversiones métricas, explicaciones muy detalladas…o sea que no tiene pérdida!  Mira aqui para darte una idea y luego ¡dejáte llevar la imaginación!  Otro blog que miré más por la técnica fue este que tiene muchas recetas indias sin gluten.

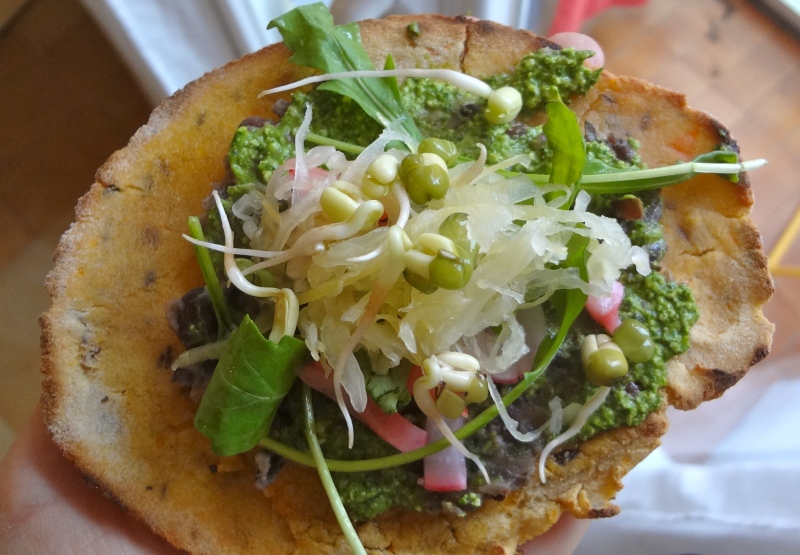
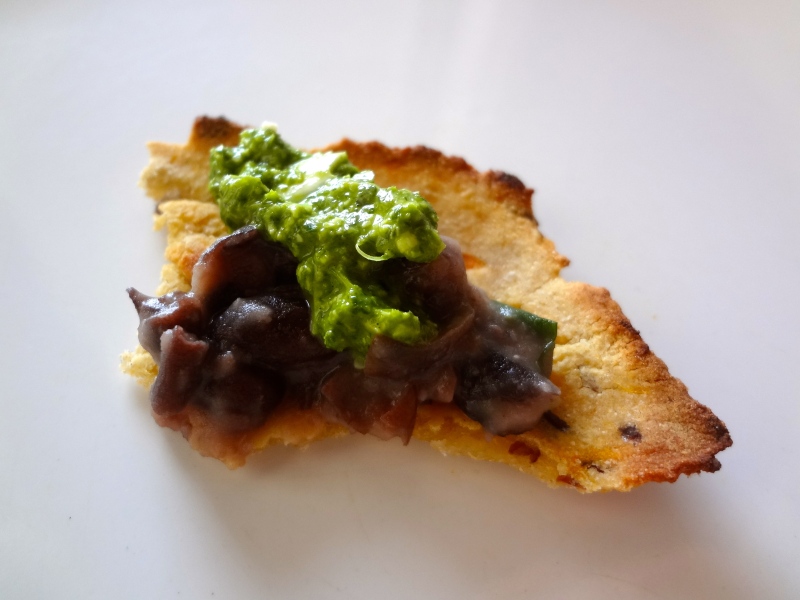
Comí los chapatis untados con frijoles negros, cilantro pesto, rúcula fresca y unos pickles de cebolla y rabanito que hice en casa.  Un sope mejicano al estilo indio…no me pude resistir.  Cualquier combinación de sabores típicos que está dentro de las dos gastronomías te iría bien.  Podrían acompañar un buen curry o dhaal, o como merienda con un poco de chutney.  Con un poco de guacamole y queso fresco sería la bomba. Ya me diráis las combinaciones que os salgan!

Tiene la pinta de ser mucho trabajo y no te voy a engañar: si haces todo el mismo día, vas a tirar horas en la cocina (aunque muchas no son horas activas en la cocina). Yo recomiendo hacerla en pasos o combinar con otras cosas que ya tienes preparadas en casa.

DSC03157

Chapatis con boniato, comino y fenugreco a la mexicana

La masa
Mezclé harina de arroz integral, sorgo, arrowroot y arroz blanco según las instrucciones de Shauna para una harina integral sin gluten.  Te da muchas opciones, así que puedes poner lo que te da la gana y en las proporciones que quieras, siempre respetando el equilibrio de harina integral::blanco. Ella recomienda las cáscaras de psyllium, que aún cuesta encontrar en España. Yo utilizé semillas de lino recién molidos para unir la masa.

240g o 2 tazas harina sin gluten
70g o 1/2 taza boniato, hervido y machacado (puedes dejarla piel, quizás pasándolo por el mini primer)
1 c.p. fenugreco en polvo
1 c.s. comino, grano entero, previamente tostado
1/2 c.p. cúrcuma
1 c.p. sal marina
1 c.s. + 1 c.p. del aceite de oliva virgen (reserva la c.p.)
1 taza o 250ml agua tibia (a ojo)
1 c.s. de harina de arroz mezclado con fécula de maiz, para espolvorear la masa
ghee o aceite de oliva virgen para untar una vez cocidos

Mezclar la harina, el boniato, la sal y el aceite en un bol grande, asegurando que el boniato queda bien distruibido dentro de la harina. Poco a poco añade el agua tibia, amaseándola todo rato hasta que quede bien unido. Forma una pelota, cubre con 1 c.p. de aceite y dejarlo descansar unos 15 minutos.

Poner la harina de arroz y maiz en un plato al lado de una tabla de cortar. Encima de la tabla, dejra dos trozos de film de plástico (o papel vegetal, que a mi no me funcionó, se pegaron a la masa), aprox. 25cm. Dividir la masa en 10-12 pelotas pequeñas iguales. Espolvorear con la harina del plato y aplastarla en forma de un disco. Aplastarla entre el plástico con un rodillo de masar, al tamaño de una palma, más o menos. Sacar la capa del plástico de arriba y coger el chapati en la palma de una mano. Espolvorear la otra mano con harina y darle la vuelta (como una tortilla española). Ponerlo con cuidado en una plancha bien calentita y cocinarlo a fuego mediano unos minutos o hasta que se formen unas burbujas. Dar la vuelta al otro lado y dejálo unos minutos. Puedes ir alternando de lados hasta que los dos se queden bien dorados.

Hay que servirles en el momento que salgan de la plancha o si no, untar con un poco de ghee o aceite de oliva y guardarles dentro de una servilleta o toallita de algodón.

DSC03178DSC03182
Frijoles negros con epazote

Hace poco que una amiga mexicana se fue a Inglaterra y me dejó todas las especias que tenía. Me dijó que la manera auténtica de cocinar los frijoles negros era con epazote, una hierba que se encuentra fresca en Mexico. Yo la pongo aqui, pero en seco. Yo dejo todos los legumbres en remojo 24h, cambiando del agua 2 o 3 veces. Así no te provocan las “molestias” que normalmente sufrimos a comer legumbres. Otro truco es añadir un poco del vinagre de manzana NO pasteurizado al plato.

1 taza de frijoles negros secos, remojados min. 8h.
agua filtrado (pongo mucho y así me queda caldo después)
1 c.s. epazote, en seco
1 cebolla, picada
2 dientes de ajo, picados
cilantro fresco
Sal marina y pimienta a ojo

Llevar el agua a bullición y añadir los frijoles, la epazote y una pizca de sal. Se cocinan todo junto durante una hora y media – dos horas a fuego mínimo o hasta que se queden bien blanditos. Guardar el liquído.

En una sartén calentar un poco de aceite de oliva a fuego bajo. Cuando esté caliente, poner la cebolla con una pizca de sal. Saltearla sola unos minutos y añadir el ajo. Cuando hayan pasado 5 minutos, añadir los frijoles, machándolos mientras se cocinan. La idea es que quedan trozos, no como puré. Tendrás que ir poniendo a ojo el caldo de los frijoles, que se secan muy facilmente y más cuando se enfrían. Piensa en risotto aqui: poco a poco, justo cubriendo los frijoles con el liquído y poniendo más cuando lo hayan chupado. Si no vas a comer todos el mismo día, recomiendo guardar el caldo en la nevera para cuando les recalientas.

Espolvorear con un poquito de cilantro fresco a apagar el fuego.

DSC03137

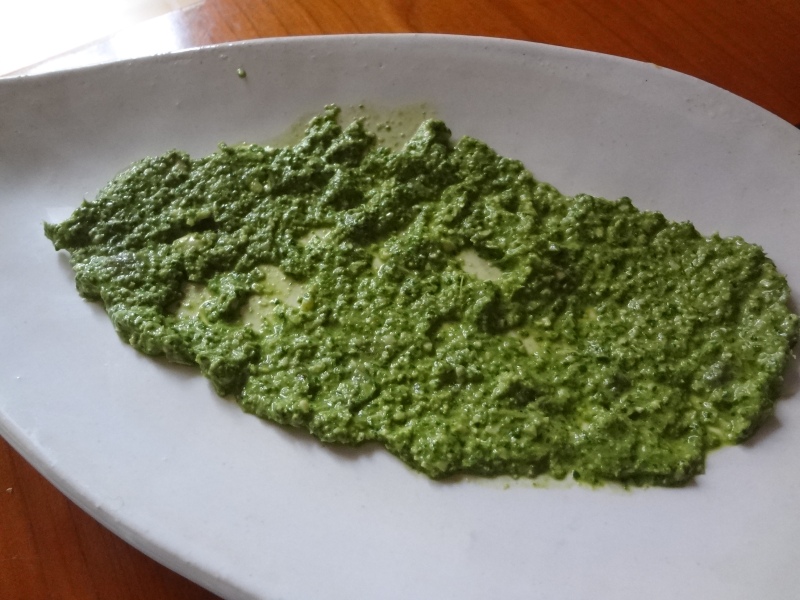
Pesto de Cilantro, ligeramente adaptado de esta receta de Sprouted Kitchen.

3 dientes de ajo
1/2 cup pepitas, en remojo toda la noche
1-2 c.p. sal marina
1 manojo grande de cilantro fresco, hojas y ramas finas
Ralladura de una lima
Zumo de 1-2 limas
80 ml o 1/3 taza de aceite de oliva virgen
1 chili picante (opcional)
1-2 c.s. agua

Mezclar todo en un food processor/batidora o batirlo con un mini primer. Se guarda bien en la nevera durante 1 semana y en el congelador unos meses.

DSC03154

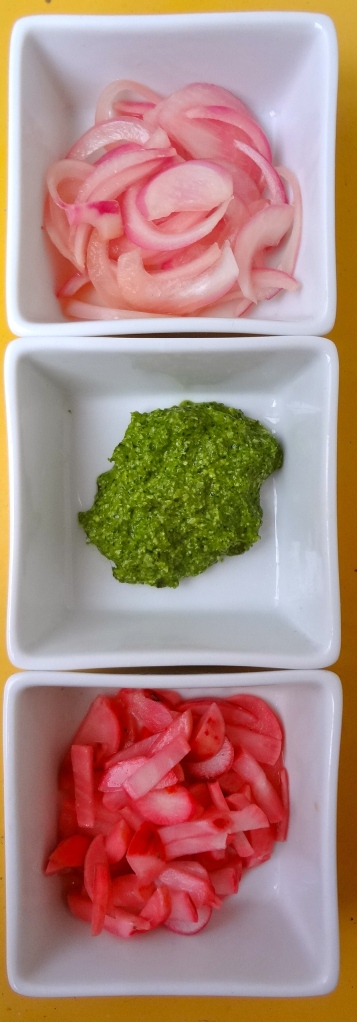
Quick pickles

1 cebolla mediana
8-10 rabanitos pequeños
2 c.s. vinagre de manzana NO pasteurizado
sal marina

Cortar todo en media lunas finas. Mezclar con el vinagre y la sal y dejar toda la noche en la nevera.

_ _ _ _ _ _ _ _ _ _ _ _ _ _ _ _ _ _ _ _ _ _ _ _ _ _ _ _ _ _ _ _ _ _ _ _ _ _ _ _ _ _ _ _ _ _ _ _ _ _ _
disco_soup_patata_blau

Aprovecho la entrada para invitaros al Disco Soupe, un evento en que colabora COSECHA que se hará el 14 de diciembre.  Ha tenido mucho éxito en otros capitales europeos y ¡por fin llega a Barcelona!  Su fin es conscenciar la gente sobre el derroche alimentario y la cantidad de alimentos perfectamente combestibles que se tiran día a día.  Recogeremos de los mercados todas aquellas frutas y verduras que por razones estéticas se desechan día sí día también, la cocinaremos, la comeremos y la haremos bailar, todos juntos.

Asistirán Feeding the 5000, Esther VivasEspai ambiental para darnos una visión actual del derroche alimentario: situación actual y soluciones.  ¡No faltarán expertos del campo y oportunidades de informarte!

¡Ven con un cuchillo, un pelador y sobre todo ganas de pasarlo bien!

Tienes más información sobre la Disco Soupe Barcelona en esta página: http://discosoupebarcelona.wordpress.com/  y  Facebook

¡Os espero!

Jesse

Continue reading

Citrus Autumn Pilaf with Maple Roasted Brussel Sprouts

DSC02464

Life has been really busy this fall.  Between flat hunting, starting and changing jobs all within 1 month, making an effort to form a community here in Barcelona (for what seems like the bigillionth time), the recurrent theme seems to be change, cleaning out the old and making way for the new.  I heard back in January that 2013 would be a year of change and fresh opportunities and I’ve known that to be so true not only in my life but in those of friends and family alike.  Political and social unrest, independence movements, people coming and going from the earth, couples breaking up or making serious commitments, drastic changes in lifestyle and life direction seem to all be more pronounced than ever.  I know I’m not telling you anything new.  This is what life inherently entails, right?  I’m going to be a little cliche here but haven’t we all heard the saying, “The only thing constant is change.”?  True that, Heraclitus.

La diada catalana // manifestation for Catalan independence

La diada catalana // manifestation for Catalan independence

Maybe it’s just that I’m paying more attention or perhaps there really is something in the air.  Either way, I can feel my world shifting and my mind and soul opening to all kinds of new possibilities.  Things are happening here and I’m going to embrace them with arms wide open.

DSC02560

“Alice: Would you tell me, please, which way I ought to go from here?
The Cheshire Cat: That depends a good deal on where you want to get to.
Alice: I don’t much care where.
The Cheshire Cat: Then it doesn’t much matter which way you go.
Alice: …So long as I get somewhere.
The Cheshire Cat: Oh, you’re sure to do that, if only you walk long enough.”

-Lewis Carroll, Alice in Wonderland

Part of that means you’ll be seeing a lot more of me around here.  And hopefully by the end of the year, I’ll be offering up much more than recipes.  I’ll keep you posted…

DSC03242DSC03246DSC03245

Thanksgiving is just around the corner and it’ll be the third consecutive I’ve missed since living in Spain.  I’ve managed to celebrate it every year with friends, coercing them with good food and lots of vino tinto.  Not too hard as you can imagine.  One year I even had my mom and sister here but I think we ate jamón and tortilla española.  Let’s just say we’re not very traditional.

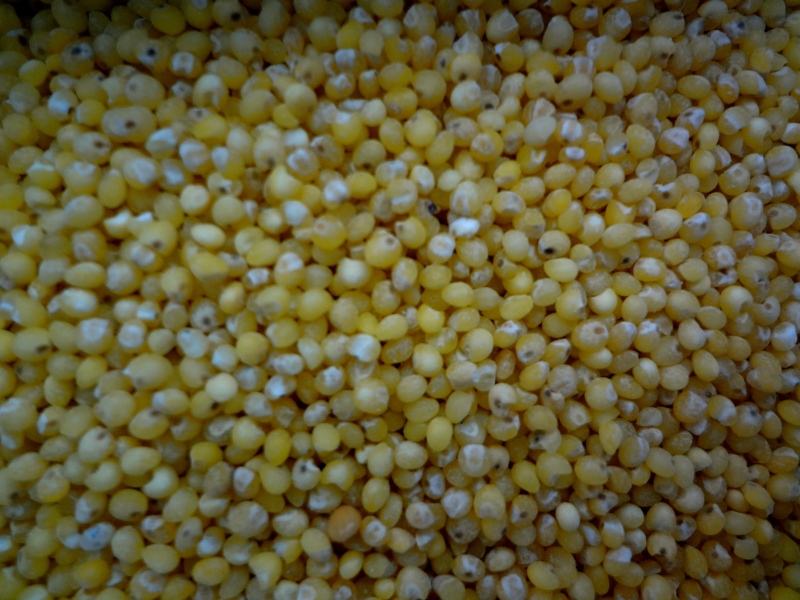
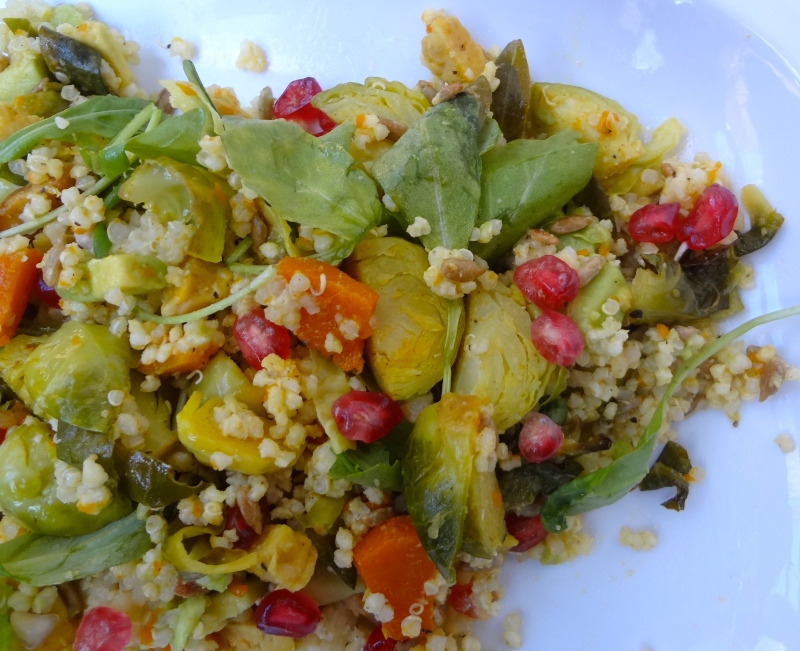
When I made this the other day, I had no intention of making a Thanksgiving related dish.  I had no idea what day Thanksgiving even fell on this year.  But you know how some people really love to hit the snooze button 10 times before getting out of bed?  I like to daydream for a few before my feet touch the ground.  It feels so luxurious in a way.  I woke up thinking of how I could use the left over millet and quinoa I had made the night before and already had the bones of this recipe before I got out of bed. And when I tasted it, it was, well for lack of better words, like Thanksgiving in my mouth and that’s when I knew I had to share this before the big day.

DSC03255DSC03266

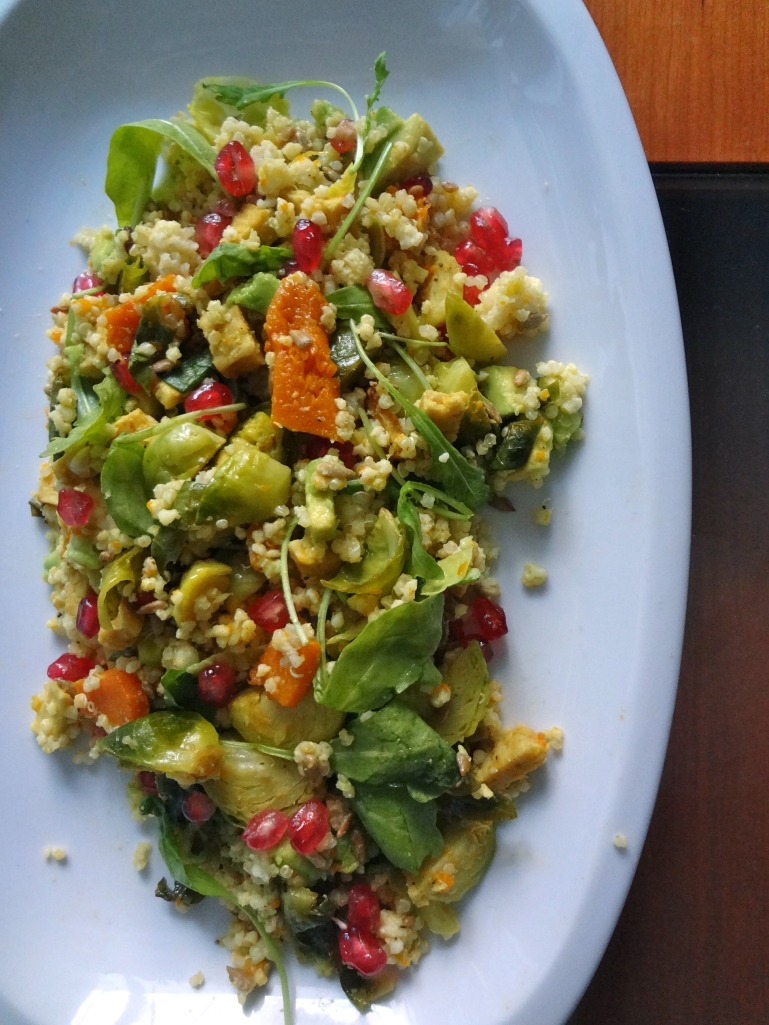
It’s a wonderful addition to any Thanksgiving table, whether that table be a vegetarian, vegan, flexitarian, or totally-meat- loving carnivorous one.   It’s loaded with protein and healthy fats, easily subbing in for the traditional turkey centerpiece or going alongside it.  The arugula and pomegranate freshen it up a bit and pack in some vitamin C goodness and antioxidant love.  In this salad, the veggies definitely outweigh the grains, making it a lighter option than other starch oriented dishes.  I love that it mixes raw and cooked, leaving you warm yet light.

A great way to preserve some of those valuable nutrients we lose by baking citrus and vegetables but still manage to get the aromatic flavor-depth that comes with heating is to use a mixed approach. I suggest adding half of the ingredients for the marinade to the mix before it’s roasted and the other half once it’s out of the oven and has cooled just a bit. Try using this method in this recipe for the citrus, spices like ginger, turmeric and cinnamon and herbs.

 DSC03276

Citrus Autumn Pilaf with Maple Roasted Brussel Sprouts

You can play around with the citrus here.  I used mandarin oranges but honestly I think their juice may be too sweet.  You’re looking for something a tad bit tart to balance the maple so try regular oranges, lemon, grapefruit or even lime.   I also happened to have on hand some cilantro-pepita herb spread (recipe coming soon!) that made this dish sing.  I imagine it would pair well with a number of greens/herbs.

I suggest cooking the millet and quinoa ahead for two reasons: it’s easier to manipulate when mixing in all the ingredients (millet tends to turn to mush the more you mess with it when it’s just cooked) and secondly because it divides up the active time you’ll spend in the kitchen. I usually put a pot on of grains whenever I’m working from home. As it keeps for a good 4 days in the fridge, it really makes recipes like this possible weekdays.

DSC03258

2 cups cooked millet and quinoa** (you can cook them together)
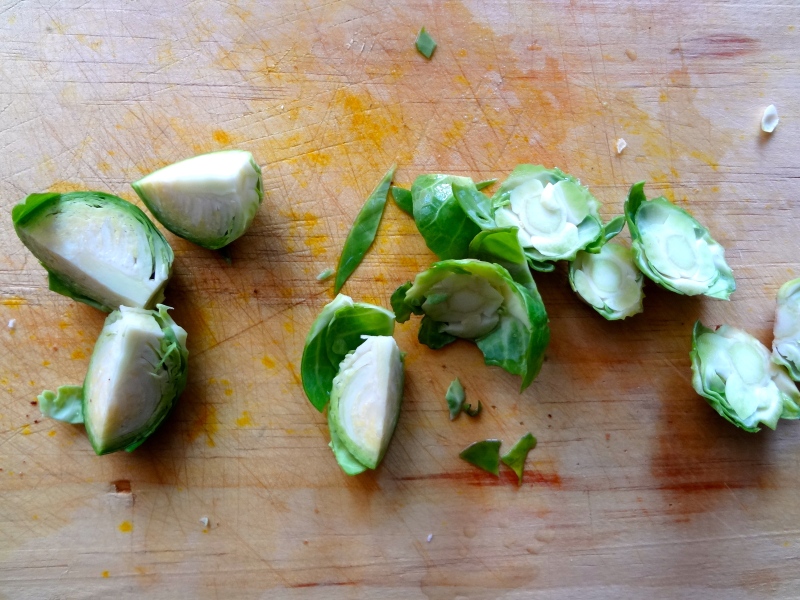
400g (14oz/.88lb) Brussel sprouts, quartered
1 ripe avocado, diced
1 handful arugula (or other bitter/spicy greens)
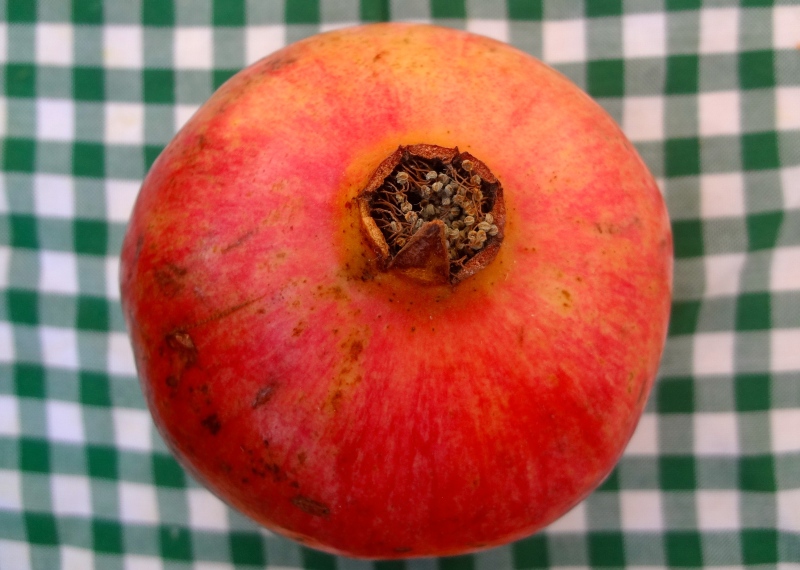
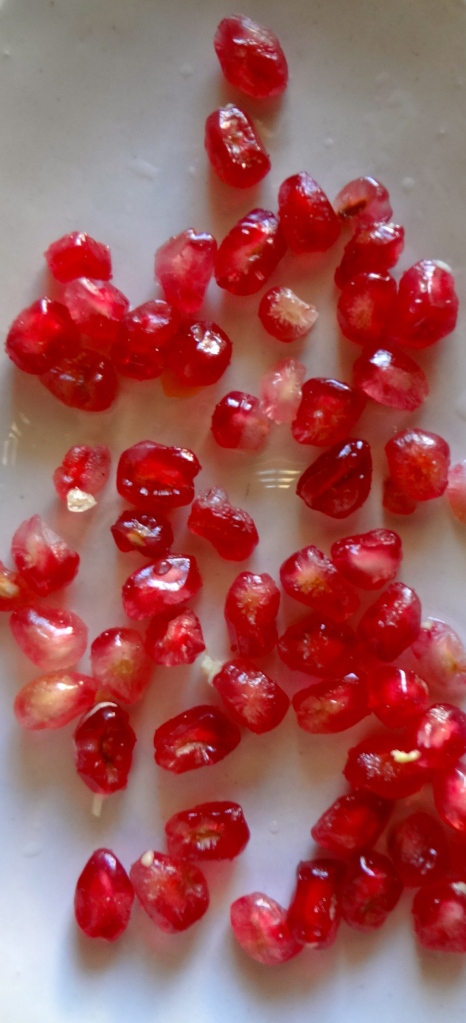
Seeds from 1/2 med-large pomegranate, pith removed
150g (0.3lb) pumpkin/sweet potato/winter squash, peeled and diced
125g (4.4oz) tempeh, cut into little cubes
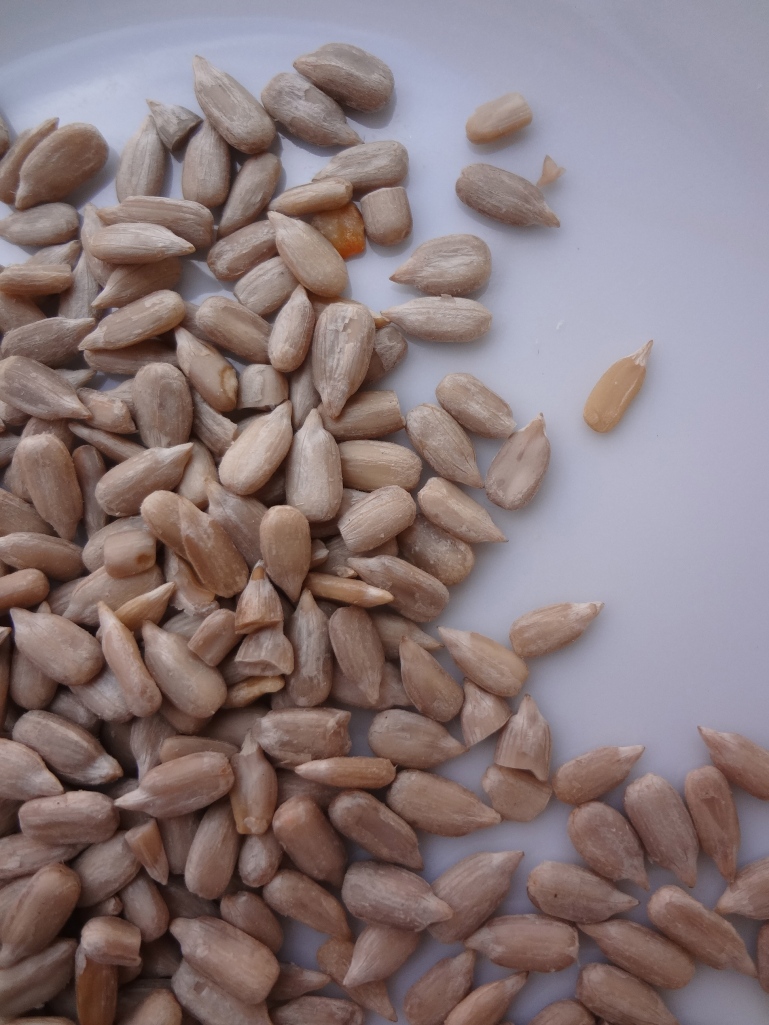
1/3 cup raw sunflower seeds, toasted
Zest from 1 organic lemon
3-4 tbsp orange juice
1/2 tsp turmeric
1/2 tsp cinnamon
1 tbsp freshly grated ginger
1/3 cup extra virgin olive oil
sea salt
freshly ground black pepper
1 tbsp apple cider vinegar

Maple citrus glaze:

1/3 cup e.v. olive oil
1 tbsp grade B maple syrup
3-4 tbsp orange juice
Lemon zest
1 tbsp freshly grated ginger
1/2 tsp turmeric
1/2 tsp cinnamon
big pinch of sea salt
black pepper
red chili flakes (optional for those who like heat)

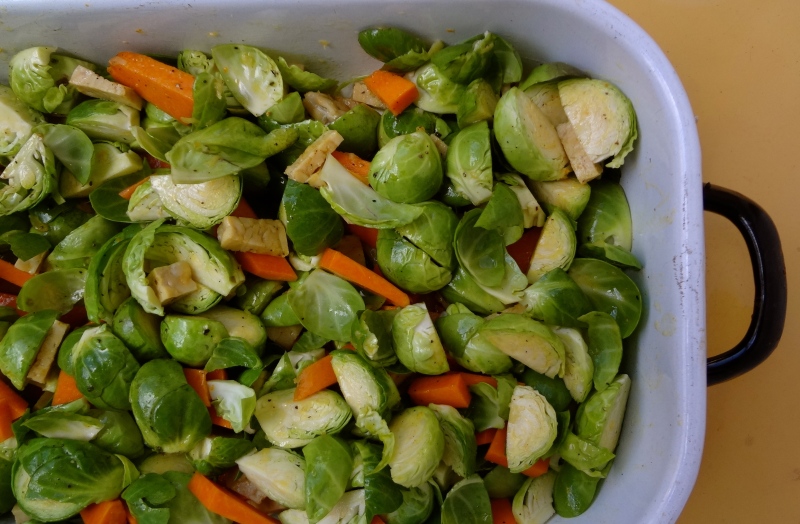
Pre-heat the oven to 180C (350F) and placed the rack in the top third of the oven. Rinse the brussel sprouts and quarter each one. If you prefer to chop off the rough ends, do so but keep in mind that the brussels won’t hold together as well. Dice the pumpkin and tempeh into cubes. Mix together the brussel sprouts, pumpkin and tempeh in a big bowl or directly in your baking dish and set aside.

In a different bowl, using a whisk, combine the maple syrup, orange juice, lemon zest, ginger, turmeric, cinnamon, sea salt and black pepper. Slowly incorporate the olive oil, stirring constantly.

Pour the glaze over the vegetables, using your hands to insure each little bit gets coated. Spread them out in a single layer, using two dishes/trays if you have to. Place in the oven for 30 minutes or until the brussel sprouts are golden, stirring once or twice along the way.

While the roasting is going on, seed the pomegranate and set them aside. Chop up the avocado and put them in a separate bowl, preferably big as it’s here you’ll mix the salad. Heat a cast iron skillet on medium-low heat and when it starts to give off heat, add the sunflower seeds and toast them for about 5 minutes, shaking and stirring often and keeping an attentive eye on them, as they can go from golden to burnt in a flash. Take them out of the pan and add them to bowl.

Take the Brussel sprouts out of the oven and allow to cool slightly for about 5 minutes. Add them to the bowl with the rest of the ingredients and mix them together. Finally, toss in the grains, pomegranate, rucula and apple cider vinegar and combine until all of the ingredients are evenly distributed. Salt and pepper to taste, and if using the “mixed method”, add in the remaining citrus and spices here.

Optional add-ons: herb spreads, sauerkraut, sprouts…

** I had only about 1/2 cup (uncooked) quinoa I needed to used up so I added that to 1 cup of millet and cooked the two together for 15 minutes, letting them rest with the lid on for about 10 minutes afterward. If you prefer to just use millet, that’s fine although you’ll lose a little bit of the protein from the quinoa and the contrast in texture. It’s very important to let the grains cook over low heat with the lid on and resist the temptation to take peeks and stir. Your reward will be a firm, fluffy grain that holds up well in this salad.

DSC03284

Creamy coconut tomato bisque and how to fake it

DSC02763

I debated posting this recipe last time but decided against it because I feared it was too late to put up a tomato recipe.  I know that I technically bid farewell to summer on my last post but I just couldn’t let fall really begin without posting this AMAZING recipe.

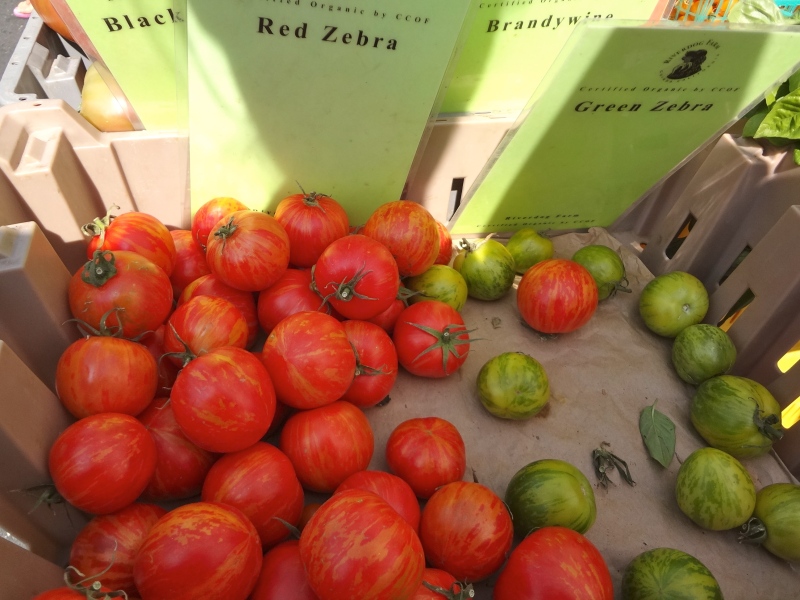
DSC02292Zebra tomatoes in Berkeley, California.

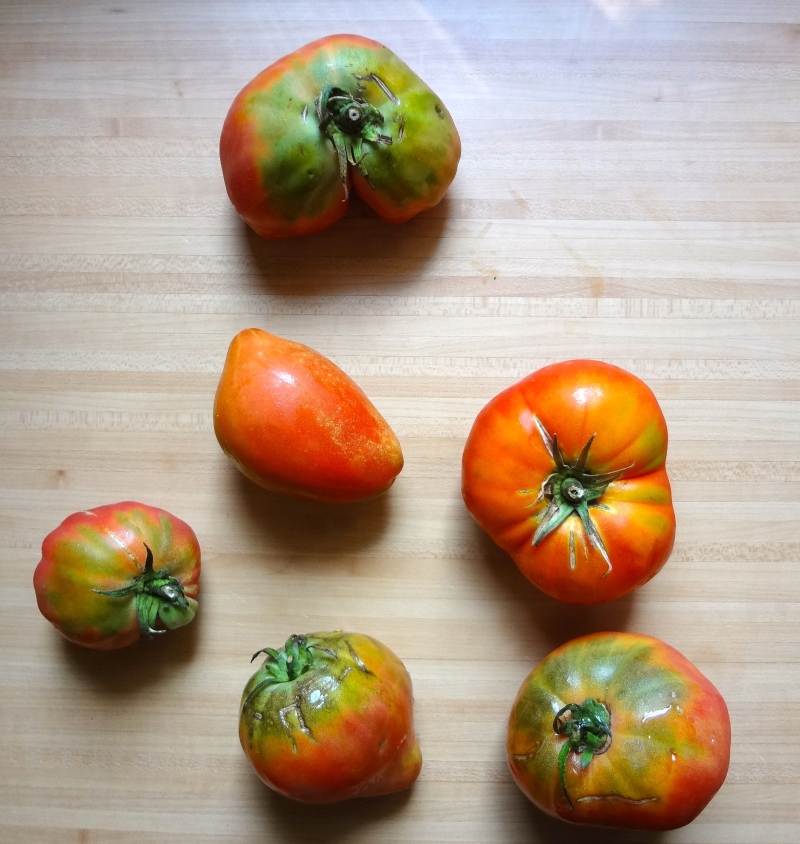
As I’m sure many of you are aware, tomatoes are not naturally year-round crops. They have a distinct season, which can vary depending on where you are: here in Catalunya the tomato season ends around late August – early September whereas some areas of California continue to have fresh, ripe tomatoes well into December.  The only way that you’re going to see tomatoes on the shelves in January and February is if  they’re coming from greenhouse production.  And what’s wrong with that, you might ask?  Well, for starters, the taste is, for lack of better words, BLAH.  They taste like nothing in particular.  And we’re talking about a fruit (because we all know that botanically tomatoes are fruit, right?) so delicious that early explorers of the New World found it worthy enough to send back to their homelands.  Another reason to hold off is the massive amounts of energy and water that are needed to grow summer crops year-round and transport them around the world.

“Es difícil tener tomates todo el año salvo que los envíen desde lejos, y para eso hay que introducir mutaciones en el proceso de maduración para que el tomate se recoja verde y madure durante el transporte y la comercialización, lo que de nuevo afecta a las características organolépticas y a su contenido nutricional”.

Tomatoes seemed to have arrived in Spain at some point during the 16th century.  They were treated with much suspicion and generally feared because they were thought to be poisonous.  While that may have been an exaggeration, they were onto something.

Tomatoes are part of the nightshade family, also known as Solanaceae.  Nightshades contain a substance, alkaloids, a metabolite which vary in potency among the different members of the family, but is present in all.  Some of the more deadly ones are: tabacco, morphine, opium and belladonna.  Tomatoes, as well as potatoes, eggplants, and bell peppers, contain a particular one known as Solanine.  It’s most visible in the green parts of these guys (which should ALWAYS be cut off and thrown away!) and the less ripe it is, the higher amounts they have.  Many individuals are sensitive to solanine and this substance tends to accumulate in the joints (i.e. knees, fingers, wrists..), contributing to diseases such as arthritis, rheumatoid arthritis, gout, kidney stones, osteoporosis, and hypertension,just to name a few.  That said, solanine is less likely to be as problematic when nightshades are eaten in season.   Our bodies are more equipped to filter out this troublesome substance in warmer seasons when the body naturally cleanses itself.  We sweat more in the spring/summer/early fall, drink more liquids and eat water-filled fruits and vegetables, eat lighter meals, all of which strengthen our body’s cleansers and our ability to filter out unwanted by-products of food.  For those that have an existing condition such as the ones listed above, it’s best to avoid nightshades year-round.

DSC02772

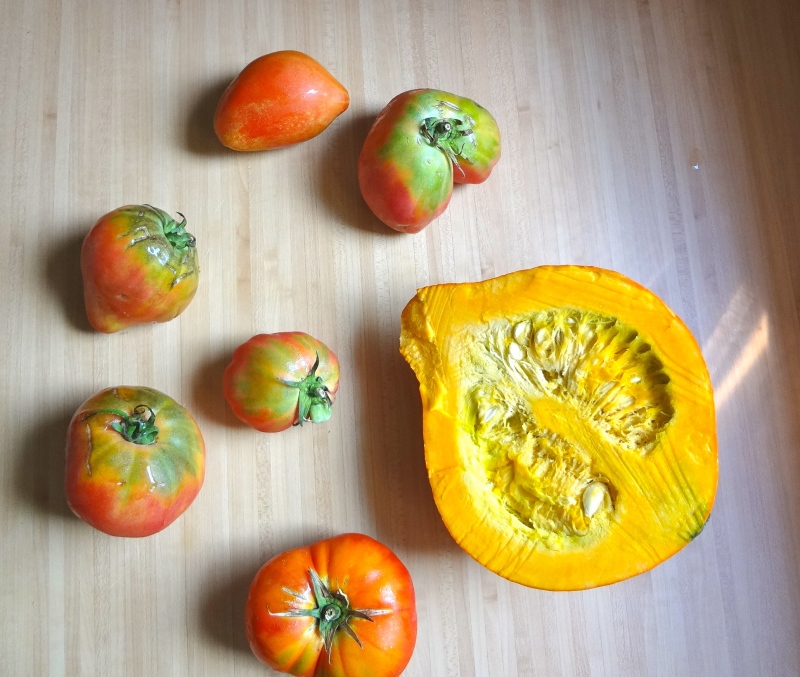
So enough with the bad news, let’s celebrate all that is GOOD about the tomato.  It’s loaded with minerals and vitamins, containing huge amounts of the famous Vitamin C and stands out in it’s content on Lycopene, a red cartenoid that not only gives tomatoes their red color but is also a powerful antioxidant and protector of the cardiovascular system.  Obviously the more it has ripened naturally, the more lycopene it has!  No wonder its’ season happens to be when we are exposed to large amounts of oxidation, i.e. the sun!  It also happens to be one of the few nutrients/fruit that’s nutritional profile increases when cooked…qué guay!

DSC02780

The key word here is moderation: nothing wrong with using some tomato preserves or cans once in awhile during winter for a favorite dish.  We can also use heat to give them some warmth (baking, roasting, sauteing) and spices (ginger, cayenne, cinnamon, garlic) during the chilly days of autumn and winter.

DSC02783

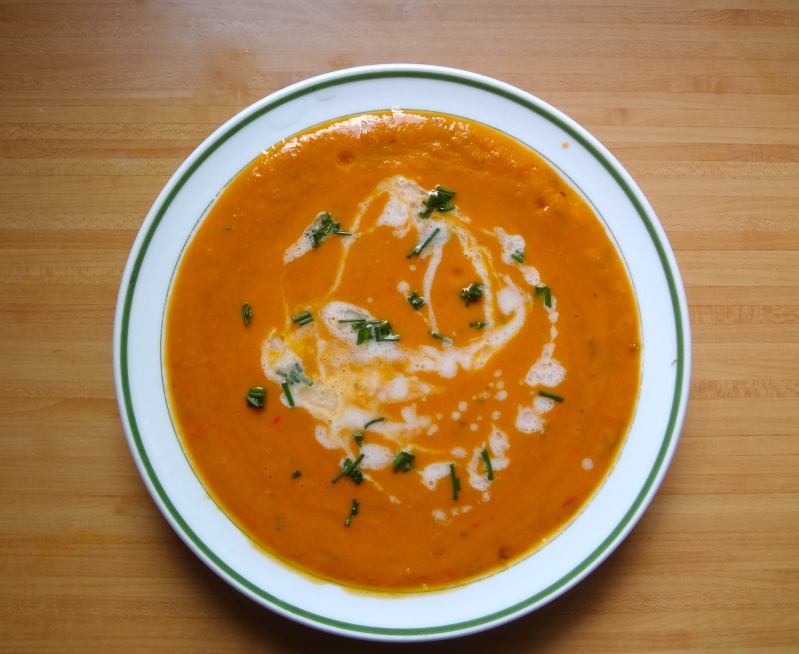
Creamy coconut tomato bisque, lightly adapted from Honest Fare

For those of you trying to avoid all dairy or just a little, i.e. lactose, this is a fabulous way to have your cream and eat it too.  Coconut milk lends that silky smooth goodness without the pain and discomfort.  You can use any kind of winter squash here and maybe sweet potato would work as well.  Play around with herb combinations: basil and cilantro for warmer months, chives, oregano and maybe even garlic scapes in the colder ones.

Recipe

  • 13 oz. (400 ml) can full fat coconut milk
  • 10 tomatoes (choose a less watery variety/if using canned, drain the water)
  • 3 cups Red Kurri squash
  • 1 Tbs maple syrup
  • Pinch of Asafoetida (indian spice)
  • Kosher salt to taste
  • Pinch of cayenne pepper or red pepper flakes (optional)
  • Cracked black pepper to taste
  • Garlic infused olive oil (or regular and minced garlic)
  • Small bunch of chives, chopped (save a little for garnish)
  • 1 cup water or vegetable broth

Preheat your oven to 375F (190C).  Prepare one cookie sheet, covering it with wax paper.  Cut your squash in half and scoop out the seeds (can be saved and roasted later!).  Rub the insides down with a little oil oil, salt, pepper, and the maple syrup.  Turn face down and roast for 25-30 minutes, depending on the size.  It’s done when you can pierce the skin with a knife with little resistance.

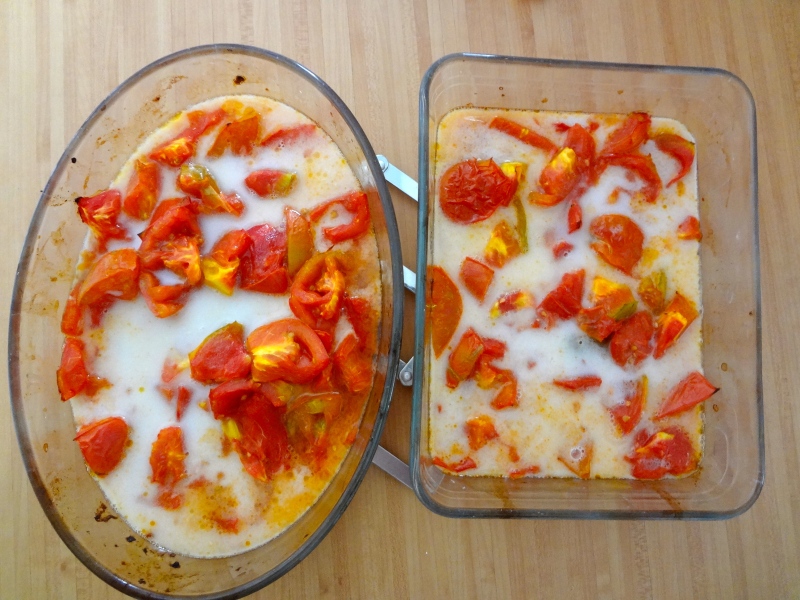
Chop up the tomatoes and toss them in olive oil, salt and pepper in a glass baking dish.  Roast alongside the squash until the skin starts to shrivel up and brown.

Pull the tomatoes out of the oven and add 1 cup of coconut milk while the tomatoes are still hot.  Mix together and allow to cool.  Once the squash and tomato mixture are cool, combine them with the herbs and cayenne pepper, if using, in a blender and blend until smooth, thinning with vegetable broth/water along the way.  Salt & pepper to taste.

Serve with a drizzle of coconut milk and remaining herbs.

Faking it: a great recipe I learned as part of my nutrition program that seriously allows you to mimic that yummy tomato taste when tomatoes are nowhere to be found. Can be used as a substitute for spaghetti sauce, in lasagna, as pizza sauce or simply as a savory veggie spread. I usually end up just eating it with a spoon; it’s that good.

1/4 small roasted or steamed beet, peeled and diced (4-6 pieces)
3 yellow onions, diced
4 medium carrots
1 tbsp dried oregano (more if fresh)
1/2 tsp sweetener (rice syrup, maple syrup, honey)
1 tsp umeboshi paste or vinegar (you could also use brown rice or apple cider here)
1/2 cup water
1-2 tbsp extra virgin olive oil/ghee/grape seed oil
salt

Dice the the onions and toss them into a heated pan coated with olive oil and a pinch of salt.  Saute for 3-5 minutes, when they just begin to become translucent. Add the carrots, the oregano, and the water and bring to a boil. Turn it down to a simmer and cover, allowing the vegetables to soften for 15 minutes. In the meantime you can chop up the beat and prepare the other ingredients. When the veggies are easily pierced with a fork, remove from heat and allow to cool for 2-3 minutes. With a hand held blender or a food processor, mix all the ingredients together, checking for salt/pepper/oregano. Be conservative with the beet or you’ll end up with an overly sweet, pink sauce. The key here is balance: just a hint of sweetness, that acidity we know and love and a little salt to make it all pop.


Crema de tomate al coco, adaptado ligeramente de Honest Fare

Para los que no comen lácteos o evitan consumir algunos (i.e. los que contienen lactosa), esta receta es una manera fantástica disfrutar de una textura cremosa sin que te sienta mal la comida.  La leche de coco da un toque suave y cremoso y no lleva los inconvenientes de los lácteos.  Puedes utilizar cualquier calabaza que te apetezca y incluso podrías probar sustituendo el boniato.  Las hierbas aromáticas variarán durante el año: menta, albahaca y cilantro en los meses calorosos, tomillo, cebollino y incluso la parte verde de los ajos tiernos cuando hace más frío.

Receta

  • 400 ml leche de coco (1 lata, no desnatado!)
  • 10 tomates (elegir una variedad poco jugoso/si vienen de lata, escurrir el agua primero)
  • 3 tazas calabaza potimarrón
  • 1 c.s. sirope de arce (o miel/melaza/agave)
  • una pizca Asofetida (especie indio, con sabor a cebolla)
  • Sal marina
  • Pimienta cayena, a gusto
  • Pimienta negra recién molida
  • Aceite de oliva virgen, infusionado con ajos (o  aceite + 1 ajo normal, picado)
  • Un manojo pequeño cebollino, picado fino
  • 1 taza agua o caldo de verduras

Calentar el horno a 190C.  Mientras tanto preparar una bandeja cubierta en papel vegetal para la calabaza.  Cortar la calabaza en dos y sacar las pipas.  Untar por dentro con el aceite, sal, pimienta negra y el sirope.  Ponerlo boca abajo en la bandeja y al horno unos 25-30 minutos.  Está lista cuando puedes penetrar la piel con un cuchillo con poco esfuerzo.   Sacarla y dejarla enfriar.

Cortar los tomates en trozos y combinar con el aceite, un poco de sal y pimienta.  Meterlos en una fuente de vidrio y después al horno.  Estarán listos cuando la piel empieza arrugarse y cogen un color dorado-marrón.

Sacar los tomates del horno y mezclar bien con 1 taza de la leche de coco en la misma fuente.  Cuando estén frío, combinar los tomates, la calabaza, la cayena (opcional) y una buena parte de la hierbas (guardando un poco para guarnición) en una batidora o robot de cocina.  Ir mezclando poco a poco hasta conseguir una consistencia cremosa, añadiendo el agua o caldo a la vez, que no te quede muy espesa.  Probar la sal y pimienta, adjustando a gusto.

Haciendo trampas:  una receta que aprendí durante mis estudios de la Dietética.  Es un truco total que te permite una salsa de “tomate” fuera de temporada.  Se puede sustituir como salsa de tomate para pasta, en una lasagna, para pizza o como un paté vegetal.  Es tan buena que me encuentro muchas veces comiéndola a palo seco, con una cuchara.

  • 1/4 remolacha cocida, pelada y cortada en dados (4-6 piezas)
  • 3 cebollas, en daditos
  • 1/2 diente de ajo
  • 4 zanahorias medianas, en daditos
  • 1 c.s. orégano (más si es fresca)
  • 1/2 c.p. endulzante (melaza/sirope de arce/miel)
  • 1 c.p. pasta de umeboshi o vinegare (o vinegar de arroz o de manzana también funciona)
  • 1/2 taza de agua
  • 1-2 c.s. aceite de oliva virgen/ghee

Saltear las cebollas con el ajo con un poquito de aceite y sal a fuego medio, removiendo unos 5 minutos.  Añadir las zanahorias, el orégano y 1/2 vaso de agua.  Dejar cocer tapado a fuego mínimo 15 minutos.  Cuando todo esté tierno, pasar por la batidora o robot de cocina junto con la remolacha, sal a gusto, la umeboshi y el endulzante, adjustando hasta conseguir un sabor agridulce parcido al tomate.  Cuidado con la remolacha; si te pasas, acabarás con una salsa de color rosa.  El equilibrio entro el ácido y el dulce es la clave de esta salsa: el dulzor que nos encanta y el ligero ácido, destacada con un poquito de sal.

Lemony Buckwheat Blueberry Muffins

DSC02042

When I go home for a visit, which is almost always in summer, I eat blueberries to my heart’s content.  They always make the list.

Blueberries, or “bru-berries” as my sisters and I would say as kids, remind me of my childhood.   We inherited this little nondescript bush in the backyard that for a few months a year would give up the most incredible blueberries which we immediately scarfed down or turned into sugary summer pies.  Blueberries were a summer thing.

By some odd and unusual turn of events, We happened to have some left over from last week’s market and they were starting to look pretty pathetic and in desperate need of inspiration.  I wanted something a bit more wholesome than those sugar-laced pies, something I could relish in my mouth and feel good about an hour afterward.  A recipe was found and a recipe was tweaked.  Buckwheat and millet flour were sitting nicely on the first shelf in the fridge.  Not far away were the coconut oil and some maple syrup.  And there I had it: a delicious, wholesome muffin to feel good about.

I could just leave it here, telling you how good they are for you and not explaining myself a bit.  But wouldn’t it be even better to know such things like why it’s worth it to substitute the typical wheat flour for buckwheat? And why blueberries and buckwheat make such a dynamic duo?  Curious yet?

Buckwheat is not to be confused with wheat, in fact they aren’t even in the same family.  It is considered a fruit seed, sharing ties with rhubarb and sorrel and doesn’t contain any of the gluten proteins that grains do.  Gluten-free through and through.  Unlike grains, which tend to be deficient in essential amino acid lysine, buckwheat contains all 8 essential amino acids, making it a complete and valuable source of protein.  It’s also contains valuable B vitamins and lots of tryptophan, an amino acid known to promote relaxation and rest.  Think post-Thanksgiving turkey bliss (another food high in tryptophan).

Blueberries are one of the touted super foods we hear about so often and with good reason.  They are chock full of phytonutrients with antioxidant and anti-inflammatory properties, vitamin C, fiber and vitamin K, know for its’ role in bone health.

So I ask: What do a blueberries and buckwheat have in common?  Anyone?  As it turns out, a whole lot:

1. Antioxidants and the cardiovascular system

Both buckwheat and blueberries do wonders to help out with cholesterol, high blood pressure and blood sugar.  Buckwheat contains Rutin, a flavenoid that acts as an antioxidant, increasing blood flow and protecting LDL (“bad” cholesterol) from free radical oxidation.  It’s also high in Magnesium and Copper, two minerals that are known to help manage the levels of insulin and glucose in the body.  But the superstar here is a little guy they refer to as chiro-inositol.  It actually makes cells more sensitive to insulin and has been effective in lowering glucose levels in Type 2 diabetes in animals.  Pretty amazing!

Blueberries have incredible protective properties when it comes to the cardiovascular system.  Super antioxidants (containing a whole range of ‘em), they work on nearly every system of the body but do some of their best when it comes to keeping that blood flowing right.  Protecting against oxidation, lowering LDL cholesterol (“bad” guy) and increasing HDL cholesterol (our friend) and reducing total cholesterol are only a few of the benefits seen with daily consumption of these little beauties.

2. Fiber

FIBER, FIBER, FIBER!  I cannot emphasize enough how important fiber is to a healthy diet and how lacking it is in the western diet.  Fiber helps lower cholesterol, protects against cancer, serves as food for our friendly gut flora, slows the release of sugar into the bloodstream and helps you feel full with less and for longer!   Both Buckwheat and Blueberries are considered a low glycemic (the sugars are released slowly overtime into the bloodstream and don’t overwork insulin production) food because of their fiber content, known to protect against degenerative disease such as diabetes, metabolic syndrome and obesity, all linked to high glycemic diets which create insulin resistance in the long run.   That’s good news for diabetics and anyone looking out for their long term health.

One cup of buckwheat contains 5 grams of fiber, almost half the daily recommendation for fiber.  Pair that with 2 cups of blueberries (3.9 grams/cup) and you’ve got it taken care of.

3. Manganese

Manganese is no small chicken, although its’ status as a trace mineral might make you think otherwise.  It comes into play in bone health and regulates blood sugar levels.  It’s known as an enzyme activator, without which things like the synthesize of fatty acids, functions of the thyroid gland and the central nervous system wouldn’t happen.
One cup of blueberries brings in 25% of your daily needs, with 0.50mg and buckwheat tops that with at 34%, with 0.68mg.  Stellar team work right there.

DSC02044

Now, I have to tell you a little inconvenient truth: when you heat or cook food, especially over 350 degrees (180 C), you are usually doing so at the loss of some enzymes and nutrients.  This is most definitely true in the case of blueberries and their super antioxidants.  I recommend baking/cooking with them occasionally and the rest of the time committing to eating them raw in large handfuls, on top of yogurt, in smoothies or wherever else you may think of.  It’s not a hard sacrifice to make, I promise.

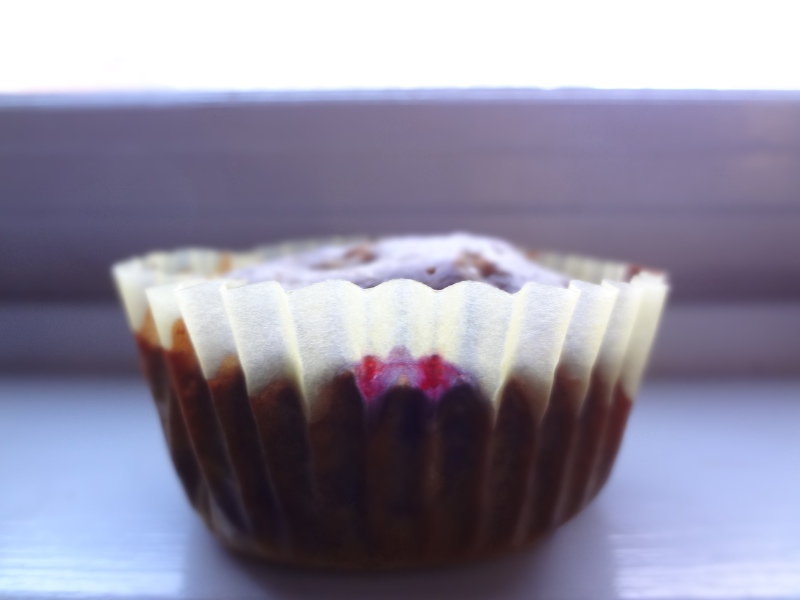
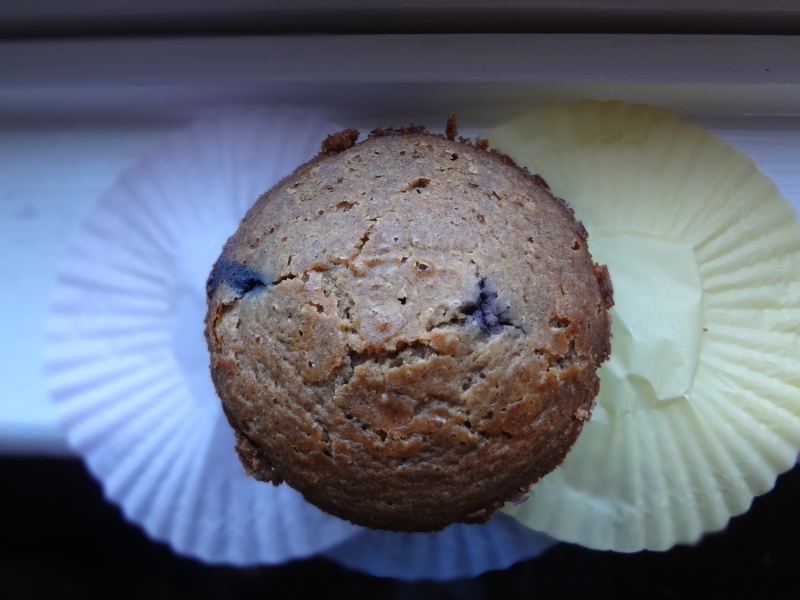
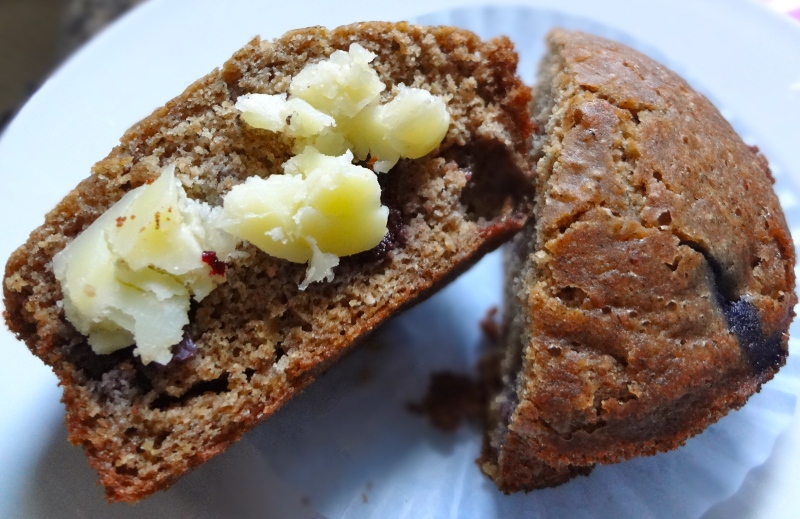
These are gluten-free and as such will not rise and fluff like a classic muffin.  For those of you who are into the dense, hearty, slightly sweet kind that only takes one to get the day started right, this is your muffin.  Try it with some ghee (clarified butter), jam or both slathered on top.

DSC02056

Recipe

Adapted from the New York Times  Recipes for Health by Martha Rose Schulman

1 cup buckwheat flour*
1 cup millet flour* (or all purpose gluten-free mix, if available)
1 tsp baking soda
2 tsp baking powder
1 tsp salt
1 cup blueberries* (I used about 1 1/2)
1/3 cup maple syrup (or agave, honey, etc)
1 1/2 cups almond milk
1/3 cup coconut oil
2 farm fresh, free range eggs
juice of 1/2 lemon (or more, to taste)
zest of 1 lemon*
1 tbsp poppy seeds

Preheat the oven to 375 degrees with the rack adjusted to the middle. Oil or paper muffin tins. Sift together the flours, baking powder, baking soda and salt into a medium bowl. Add any grainy bits remaining in the sifter to the bowl.

In a separate bowl beat together the eggs, maple syrup, almond milk, coconut oil, lemon zest and lemon juice. Whisk in the dry ingredients and mix until well combined, but take care not to beat it too long.  Fold in the blueberries and poppy seeds.

Take a tablespoon and fill muffin cups to the top. Place in the oven and bake 25 to 30 minutes, until lightly browned and well risen. Remove from the heat and take the muffins out of the tin, letting them cool on a wire rack.  If they don’t come out easily, let them cool down before removing them from the muffin tins.

*I try to use 100% organic materials but I understand that may not be within everyone’s reach.  If you have to select just a few, make sure at least the blueberries, lemon and flours are organic.  Blueberries and lemons are usually sprayed heavily with pesticides and fungicides and since we aren’t taking off their skins here, it’s all going in.  Flour from whole grains contains the whole grain seed, including the bran (outermost part), meaning that everything that it has been sprayed with will end up in your muffin.

Receta

140 g/1 taza  harina de trigo sarraceno
140g/ 1 taza  harina de mijo (o de harina sin gluten o de arroz integral)
5g/1 c.p.  bicarbonato sódico
10g/2 c.p.  levadura
3,5g/.5 c.p.  sal
170g / 1 taza   arándanos azules
125g/ 1/3 taza  sirope de arce ( o agave, miel, etc)
360g / 1.5 tazas  leche de almendras
75g / 1/3 taza  aceite de coco (o ghee)
2 huevos camperos, de número 0 o 1
Piel de limón, rallada
Zumo de medio limón
1 c.s. de semillas de amapola

Calentar el horno a 190 C.  Untar el molde para la  s magdalenas o forrarlo con papelitos.  Tamizar en un bol las harinas, la levadura, el bicarbonato sódico y la sal para evitar grumos. Añadir al bol los restos que pueden quedar en el colador.

En otro bol, con la ayuda de un batidor, mezclar los huevos, el sirope, la leche, el aceite, la piel de limón rallada y el zumo del mismo hasta que tengan una consitencia uniforme. Añadir poco a poco los ingredientes secos y mezclar hasta que se combinen, pero sin batir mucho rato. Incoporar los arándanos y las semillas de amapola.

Con una cuchara, llenar hasta arriba el molde con la mezcla.  Meterlo al horno y dejar 25-30 minutos, hasta que la masa de las magdalenas suba y quede dorada.  Sacar las magadelenas del horno para que se enfríen, preferiblemente sin el molde. Si ves que la masa se pega con el molde, deja enfriar las magadalenas en él.